Cloudflare is, by no doubt, the most popular reverse proxy & DDOS protection tool. Cloudflare provides many features for free, and one of them is the free issuance of an SSL certificate.
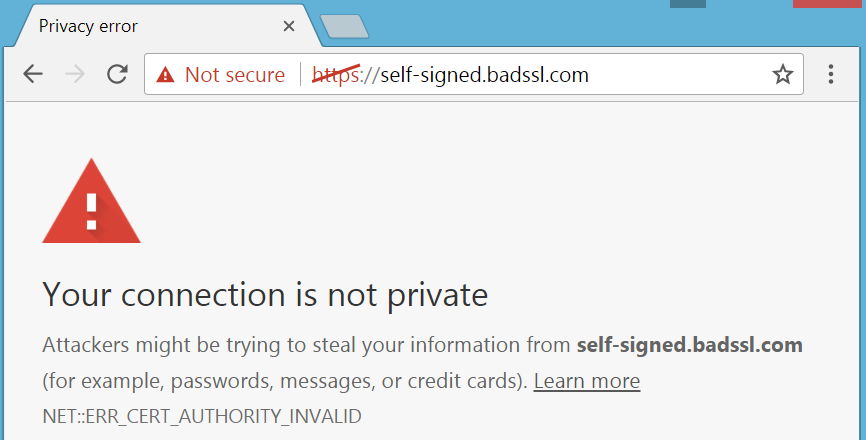
Cause of the error
The SSL certificate used on the domain, proxied by Cloudflare (when the orange cloud is active on your DNS management), may cause such issues. While it may not be an issue for everyone, sometimes the Cloudflare proxied website may show that the connection to the website is insecure, particularly on older systems, that haven’t been updated in quite a while.
If you are the website’s administrator, this article is for you. This article will discuss changing the Certificate Authority on Cloudflare proxied domains using the Cloudflare Developer API.
How to change the Certificate Authority
To change the Certificate Authority of the Universal SSL, we will first have to generate an API Key from the Cloudflare Dashboard.
To do this, you will first have to go to the API tokens section in the Cloudflare dashboard.
https://dash.cloudflare.com/profile/api-tokens
Then, we have to click on the create token button.

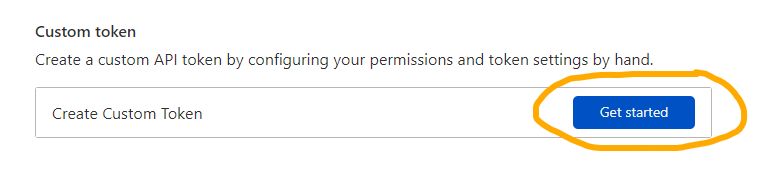
We will then be presented with a page where we can choose if we want to start with a template or create a custom token. For our current use, we will have to make a custom token.
We will then be presented with a page where we have to fill in the token form. Here, you will have to fill in the details based on your domain.
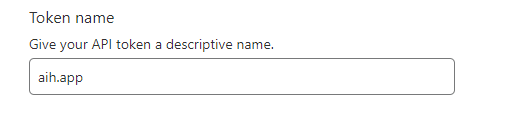
Token Name
You may keep the Token Name anything you’d like. Here, I put the name of my website.
Permissions
On the first option, you will have to select Zone, then SSL and Certificates and Edit, as illustrated in the screenshot below.

Zone Resources
On the first option, you will have to select Include, then Specific Zone, and on the last option, you will have to choose the domain name on the list you want to change the Certificate Authority for.

Continue to Summary
You may omit the other options as it is not required.
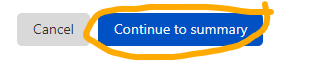
After clicking the continue button, you will be presented with the permissions the token has.
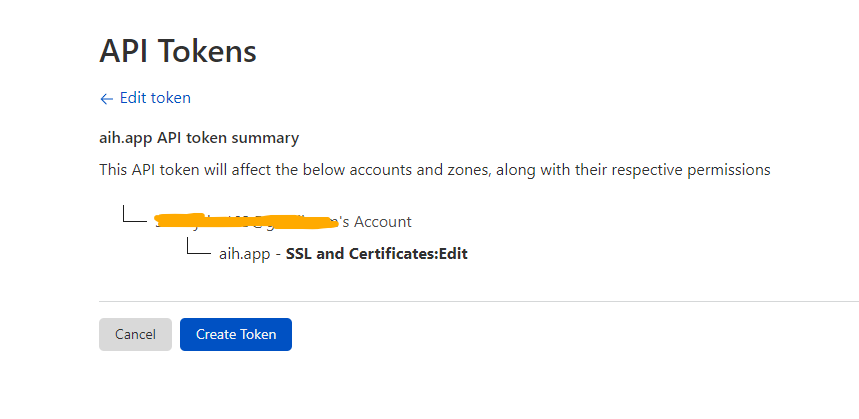
Then, click on Create Token button.
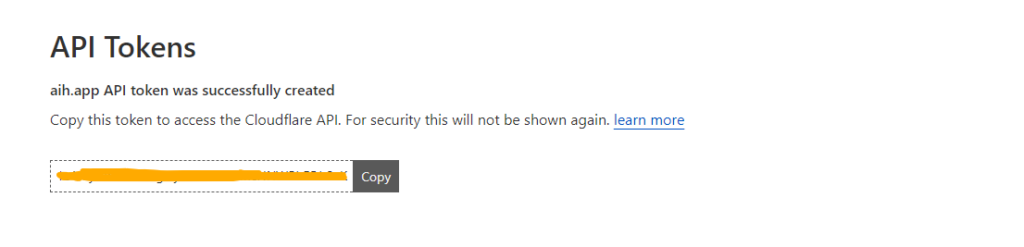
After clicking on the create button, you will be shown the token value. Click on the copy button to copy the token to a safe place.
Using the Token to change Certificate Authority
As of writing this article, Cloudflare supports the following Certificate Authorities:
- digicert
- lets_encrypt
- sectigo
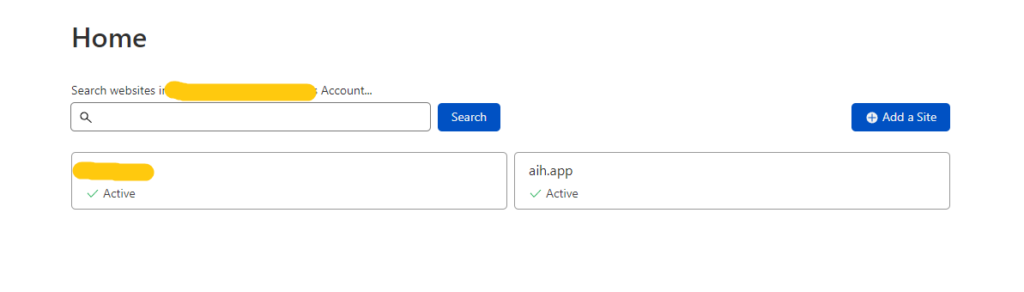
Now, to change the certificate authority, you will first have to get the Zone ID from the Cloudflare Dashboard.
On the Dashboard, click on your website.
On the next page, scroll down to the API section, and you will see the Zone ID.
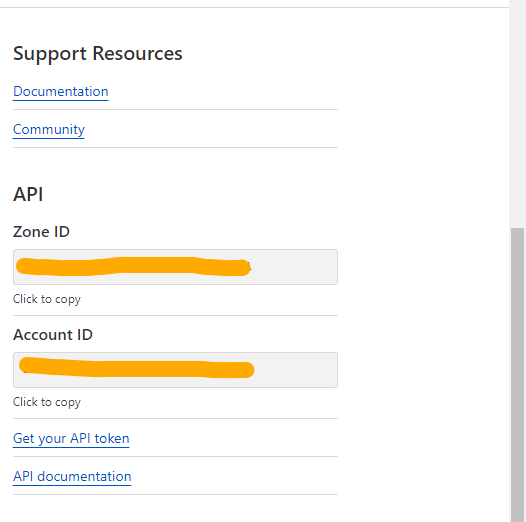
Click on “Click to Copy” beneath Zone ID and store it in a safe place.
Now, you will have to replace <Zone ID> and <API token> with the values copied earlier on the following code (without <>).
curl -X PATCH "https://api.cloudflare.com/client/v4/zones/<Zone ID>/ssl/universal/settings" -H "Content-Type: application/json" -H "Authorization: Bearer <API token>" --data '{"certificate_authority": "digicert"}'You may use cURL on your system to make the request or use an online service such as https://reqbin.com/curl. Either way, which should respond with:
{"result":{"enabled":true,"certificate_authority":"digicert"},"success":true,"errors":[],"messages":[]}Deleting the token
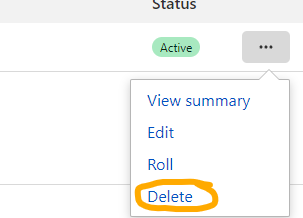
After making the request, you will have to delete the token. To do so, navigate to API Tokens Section, click on the three-dot menu on the token you created earlier, and click on Delete.
Verifying if it worked
To verify if the changes have propagated, you may use https://www.ssllabs.com/ssltest/ to test your domain SSL.