This article aims to run Google Chrome in Google Cloud Shell.
This article is an extension of our other article, which runs a VNC server on Google Cloud Shell. For the following to work, you will have to follow the previous article. You can find it here.
Adding Chrome Repository
Adding APT Key
wget -q -O - https://dl.google.com/linux/linux_signing_key.pub | sudo apt-key add -This command adds Google’s APT Signing Key, which is used for authenticating packages.
Adding Repository
echo "deb [arch=amd64] http://dl.google.com/linux/chrome/deb/ stable main" | sudo tee /etc/apt/sources.list.d/chrome.listThis command adds Google’s Repository to the APT sources list.
update local cache
sudo apt updateWe use this command to update the APT Cache so that we can install Chrome.
Installing Chrome
Use the following command to install Chrome.
sudo apt install -y google-chrome-stableUsing Chrome
Chrome by default will crash due to a shared memory error. To fix this, we will have to launch Chrome with disable-dev-shm-usage flag.
To open Chrome in VNC Viewer, from the Cloud Shell, open a new tab and use this command.
DISPLAY=:1 google-chrome --disable-dev-shm-usageThis launches Chrome in the VNC Viewer and it will run without crashing.

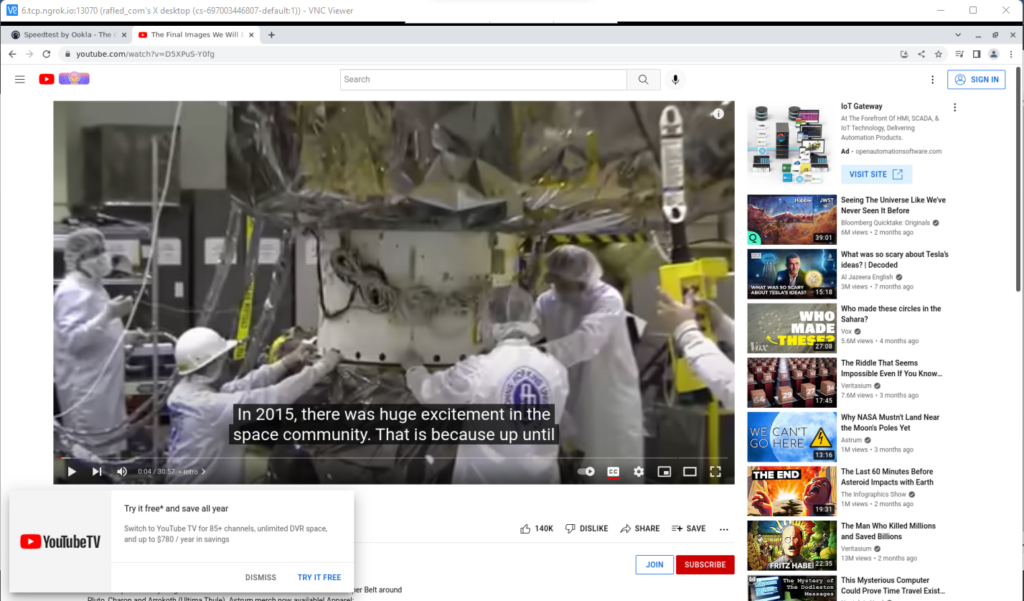
Now you can run YouTube or any website you want on Google Cloud Shell.
Launching Chrome by default when opening VNC
You can launch Chrome by default when you start the Google Cloud Shell by adding the following to the .bashrc file.
Because Google Cloud Shell does not persist files outside of the /home directory between different sessions, we will have to install Chrome when the Cloud Shell is launched after some time.
To get started, open the .bashrc file and go to the end of the file by using the arrow keys or by clicking the ALT + / keys.
If you are also launching ngrok by default based on our previous article, you will have to add the following codes before the code that starts ngrok.
nano ~/.bashrcAdding apt key
wget -q -O - https://dl.google.com/linux/linux_signing_key.pub | sudo apt-key add -adding repository
echo "deb [arch=amd64] http://dl.google.com/linux/chrome/deb/ stable main" | sudo tee /etc/apt/sources.list.d/chrome.listinstalling chrome
sudo apt install -y google-chrome-stablelaunching chrome
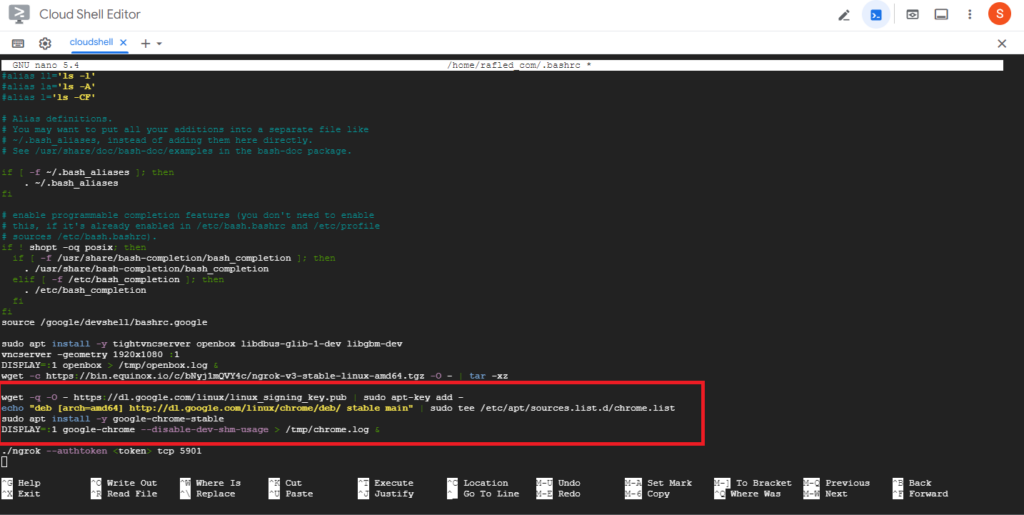
DISPLAY=:1 google-chrome --disable-dev-shm-usage > /tmp/chrome.log &This code starts chrome on Display 1 and sends it to the background whilst sending the log output to the chrome.log file in the /tmp directory.
Finally, your file should look like this.
You can now save and close the file by clicking CTRL + X and then clicking Y on the screen that asks for your confirmation to save the file.
applying changes
You can apply the changes made in the .bashrc file by using the following command.
source ~/.bashrcThis reloads the .bashrc file without you having to log out and log back in. The ngrok connection details should be visible on the screen after all the commands run. You can then connect to the VNC server and Chrome should be launched by default.