This article aims to run a VNC Server on Google Cloud Shell, which Google provides for free for all users. This article will get the bare minimum packages to run the VNC server (Tight VNC Server) with Openbox as the Window Manager.
Getting started with Cloud Shell
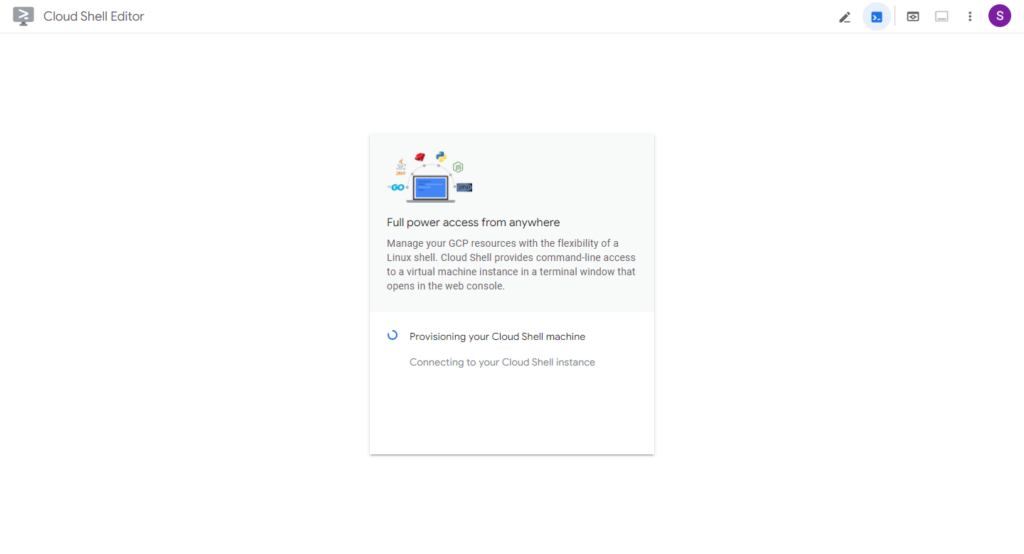
To get started, go to https://shell.cloud.google.com/?show=terminal
You will then be presented with a page showing that your VM is being provisioned.
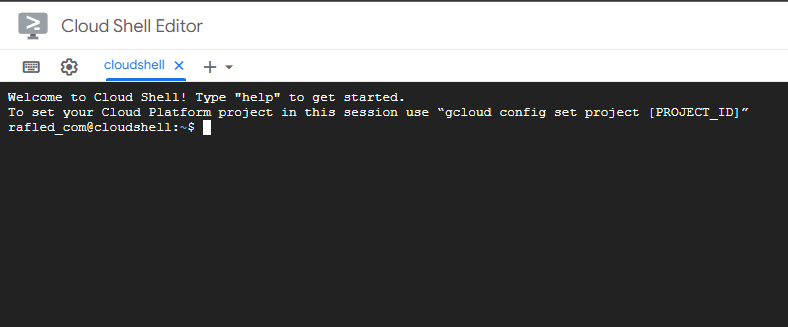
After a few seconds, you will get to a terminal. This is the cloud shell terminal, where you can execute commands.
Adding install commands to the .bashrc file
Because Google Cloud Shell only keeps the files in the /home directory between different sessions, you will have to add the commands to the .bashrc file. This is the script that gets executed when you log in. This is done so that you won’t have to run the install commands, every time you open Google Cloud Shell.
editing .bashrc
In this article, we will use nano as it is friendly for beginners.
To edit the .bashrc file, execute the following command.
nano ~/.bashrcYou will then be on the nano application used for editing files.
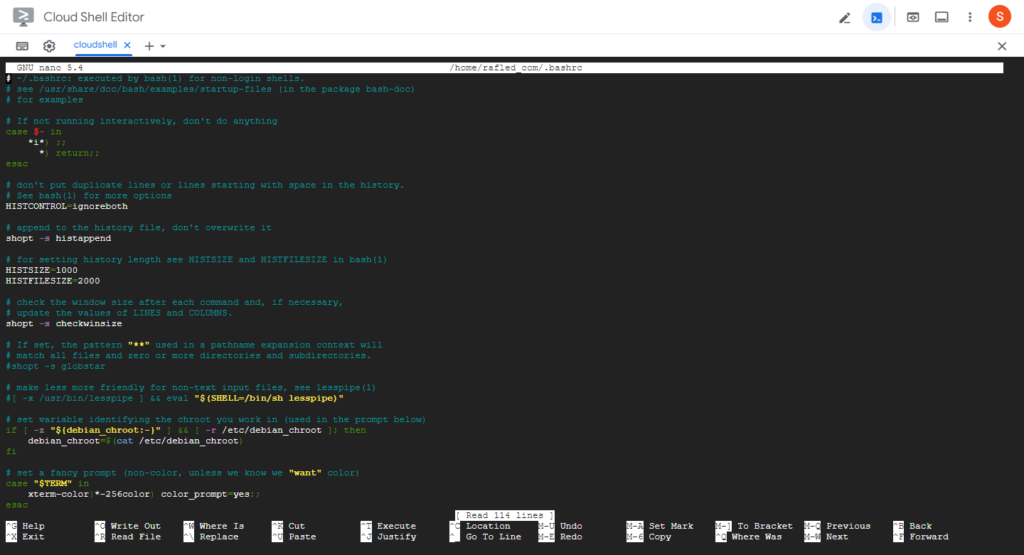
adding commands
Navigate to the bottom of the file; you may use arrow keys to navigate or press ALT + / key (ALT + Forward Slash) to go directly to the last line.
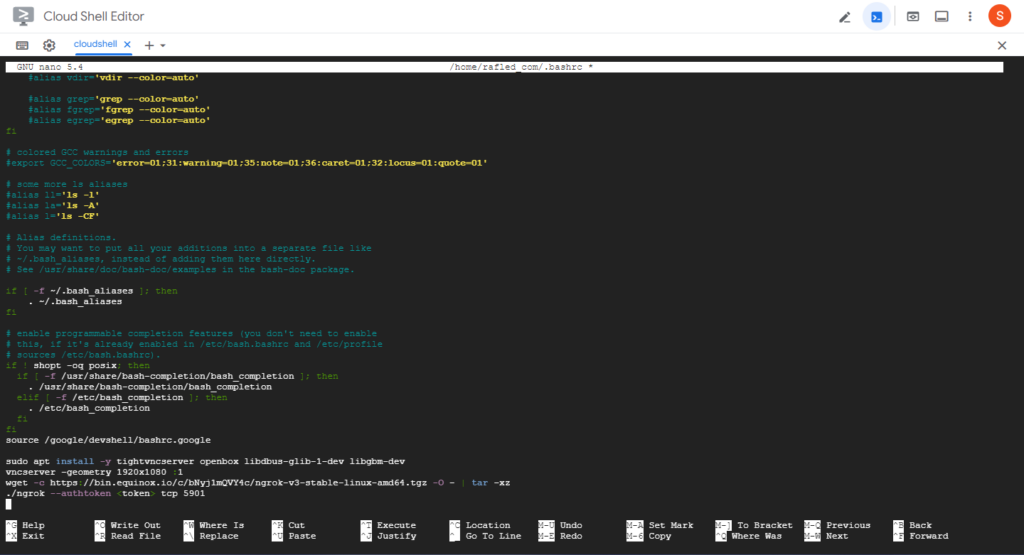
Here, copy and paste the following commands.
installing libraries
sudo apt install -y tightvncserver openbox libdbus-glib-1-dev libgbm-devThis command installs the tightvncserver, Openbox, D-Bus Library, and GBM buffer management library. Which are the packages required to run the Window Manager and VNC server.
starting VNC server
vncserver -geometry 1920x1080 :1This command starts the VNC server on Display 1 with a screen size of 1920(w) by 1080 (h).
starting openbox
DISPLAY=:1 openbox > /tmp/openbox.log &This command starts openbox on Display 1 and redirects output to /tmp/openbox.log file, whilst running it in the background.
Getting ngrok binary
Before we get to another command, you will have to sign up on the ngrok website and get your auth token. After you get the token, execute the following commands and replace <token> with your token (without <>).
wget -c https://bin.equinox.io/c/bNyj1mQVY4c/ngrok-v3-stable-linux-amd64.tgz -O - | tar -xzThis gets the ngrok binary and extracts it. You may also get the download link from https://ngrok.com/download
starting ngrok
./ngrok --authtoken <token> tcp 5901This forwards port 5901 to the internet using ngrok.
Finally, your file should look like this.
You can now exit out of nano by clicking CTRL + x and then clicking Y on the screen that shows whether you want to save the file.
Applying changes made in .bashrc
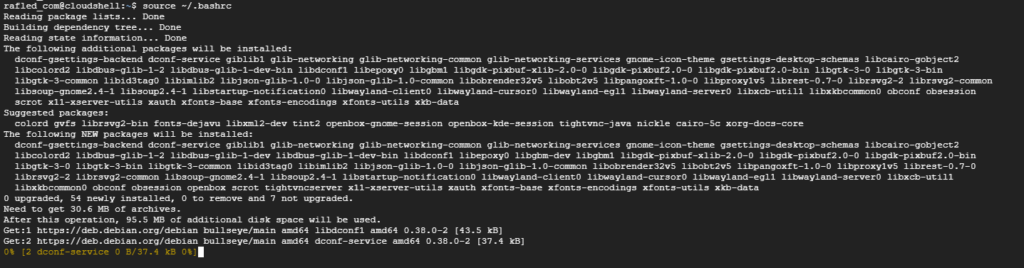
source ~/.bashrcThis reloads the .bashrc file, without you needing to log out and log back in.
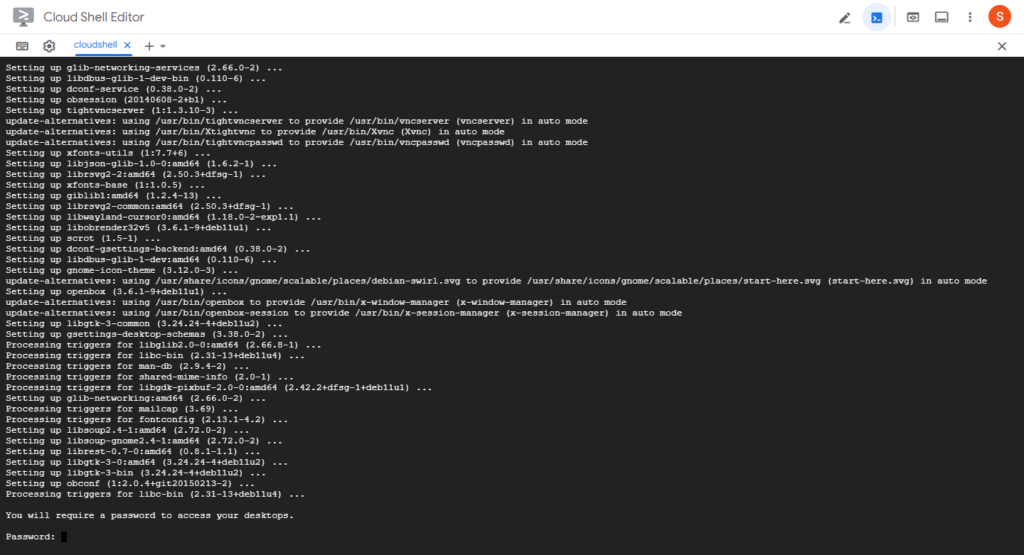
After you run this command, the commands should execute, which will be visible on your screen.
Adding VNC Password
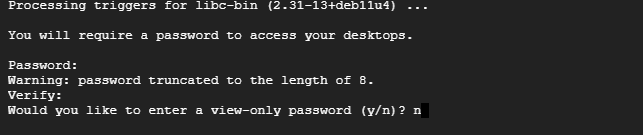
When you run the command for the first time, you should see a prompt like this, which will ask you to enter a password for accessing your desktop.
Add any password and hit enter to continue the setup. You may also add a view-only desktop password. In my case, I didn’t add any.
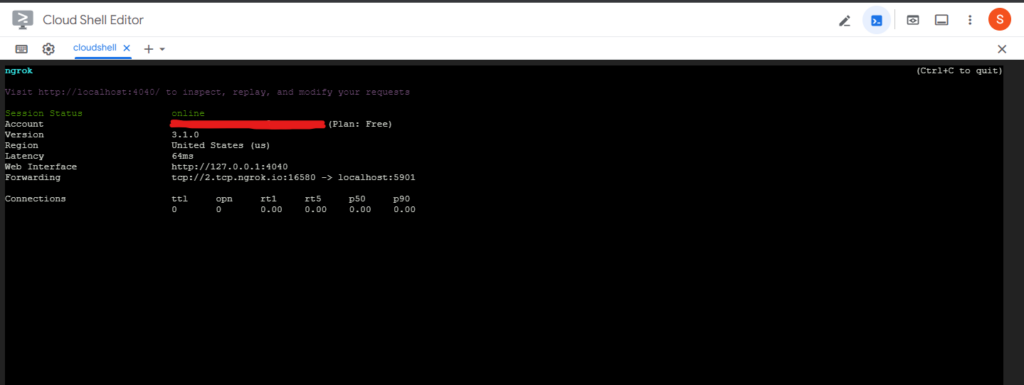
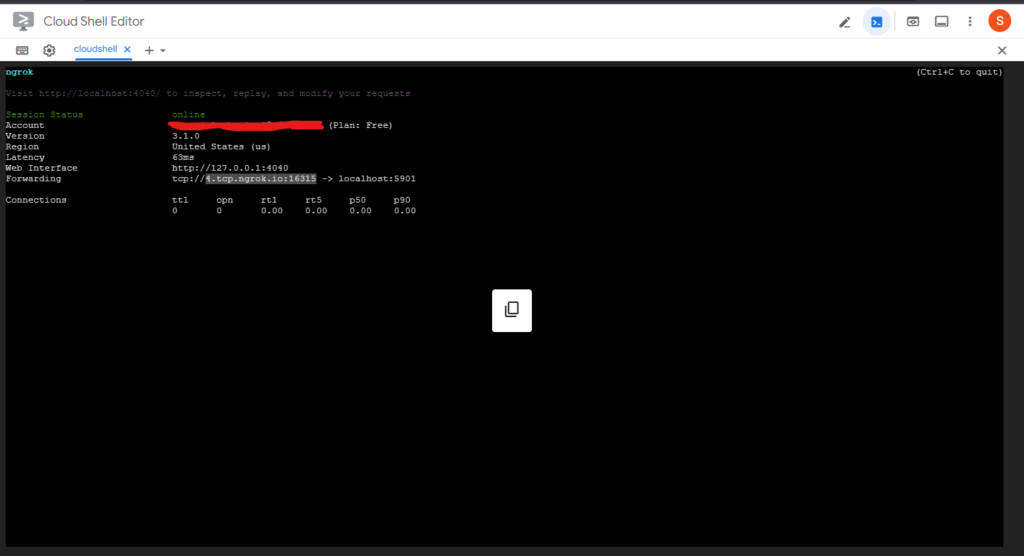
If everything went well, you should see a ngrok screen like this.
Connecting to the VNC Server
To connect to the VNC server, you will need a VNC Client installed. You may use any VNC Client. In this article, we will be using Real VNC® Viewer.
Please Note: The Forwarding address of ngrok changes each time you open a new session. This could be mitigated by subscribing to the ngrok pro plan. (not sponsored btw)
To connect to the VNC server, select the forwarding address, which should automatically copy it onto the clipboard.
Now, open the VNC Viewer application and paste the address on the address bar, and hit enter.
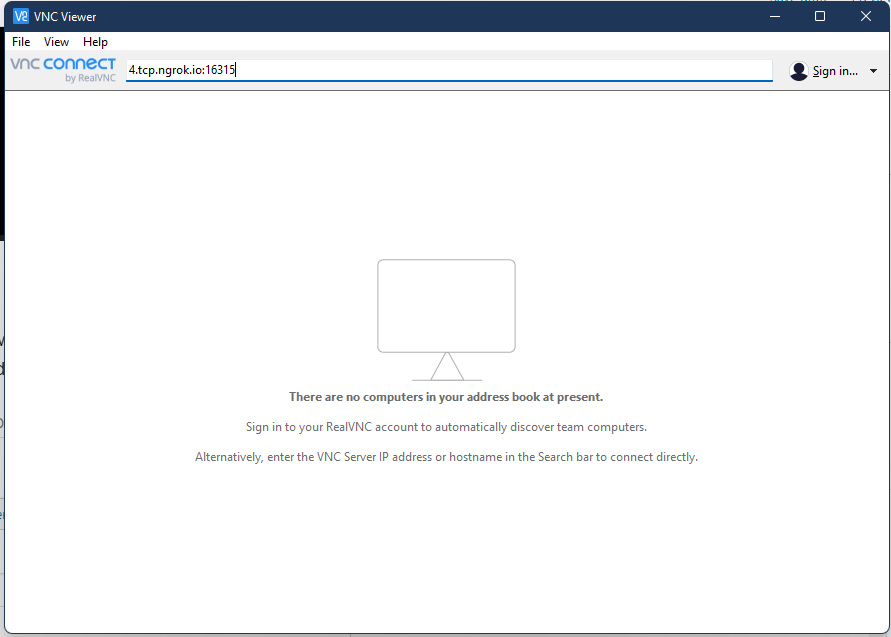
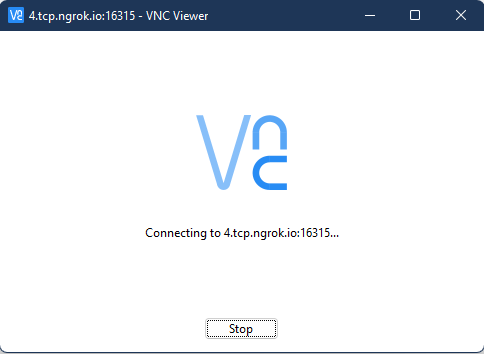
It should start the connection.
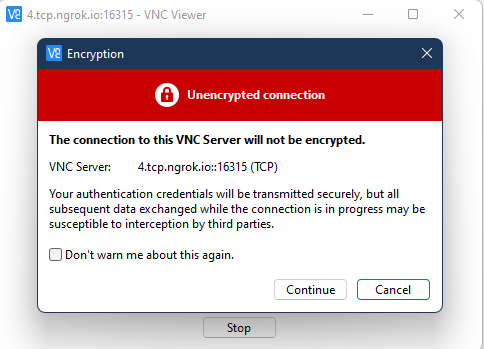
You will get a warning saying that the connection will not be encrypted. You can click on continue.
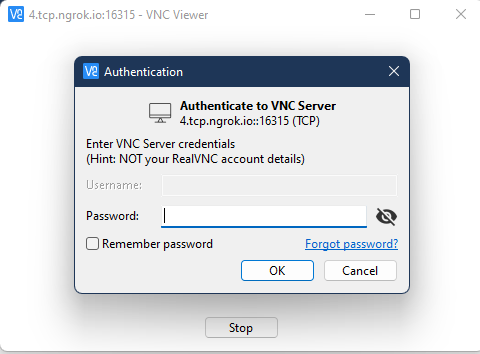
It should then ask for the password for the VNC server put in earlier during the installation process. Put in the password and hit enter to continue the connection.
In a few moments, you should be on the Desktop.
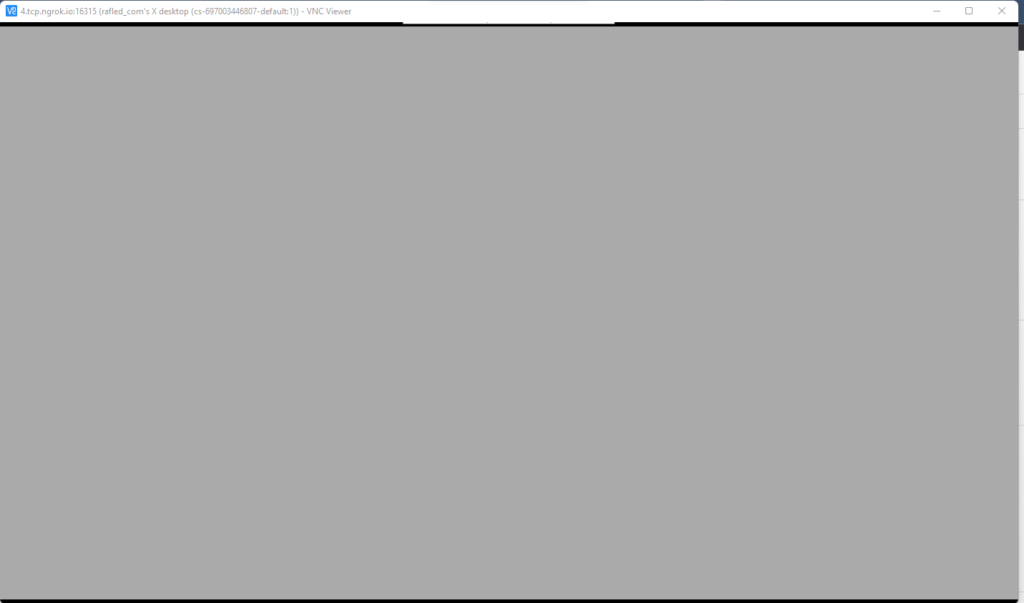
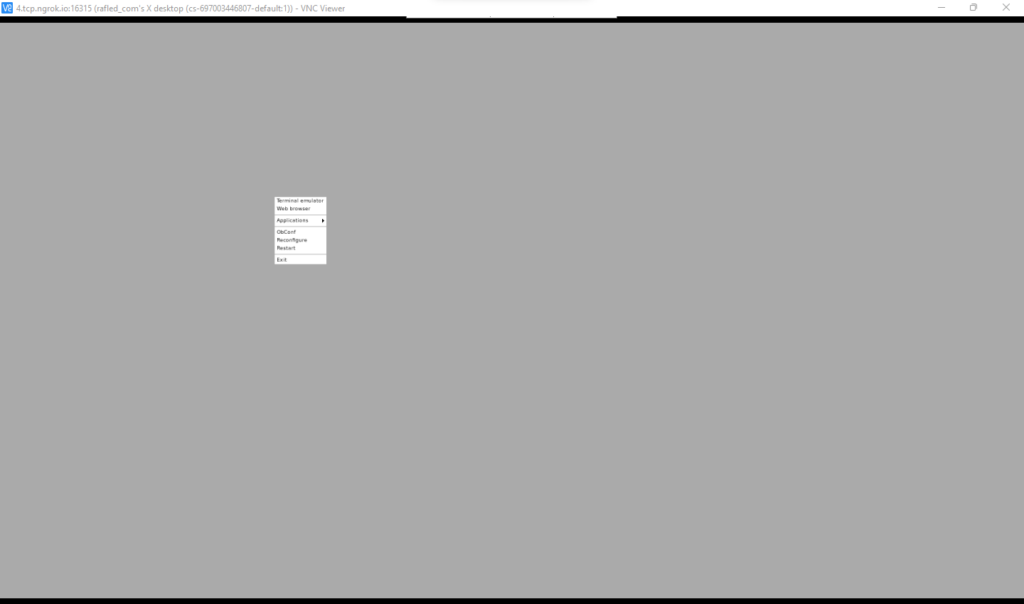
It may look like there’s nothing but not to worry, that’s how the Openbox Desktop looks in a barebone state. You can right-click on the grey screen to open the context menu.
Preventing ngrok from starting each time you open Cloud Shell
If you do not want ngrok to open each time you open Cloud Shell or want to manually initiate a VNC connection, you may proceed with the following commands.
First, remove the command from the .bashrc file which starts ngrok
./ngrok --authtoken <token> tcp 5901After removing, exit nano and execute the following commands. Replace <token> (without <>) with your ngrok token.
connecting ngrok account
./ngrok config add-authtoken <token>This command adds the ngrok authtoken to the ngrok.yml file in the ~/.config/ngrok directory.
creating a manual connection
To manually create a connection, execute the following command.
./ngrok tcp 5901This forwards port 5901 to the internet. After you run this command, you will see the ngrok screen which shows the address you have to connect to like below. The process to connect is the same as stated above.
In the next article, we will learn to install Chrome on Google Cloud Shell.