This article aims to run the Squid proxy server in GitHub codespaces. GitHub provides its codespaces service which is free for 60 hours a month. Squid is an HTTP caching server and has a variety of uses. In this article, we will run Squid to proxy our HTTP connections so we can anonymize our IP Address from the website we visit.
Before we get started, make sure you know what you’re doing. Doing this is likely against GitHub’s Terms and Conditions. So, make sure to try this out on a new account.
Prerequisites
- Github account
- Ngrok account
- Basic Linux Knowledge
Creating a GitHub Repository
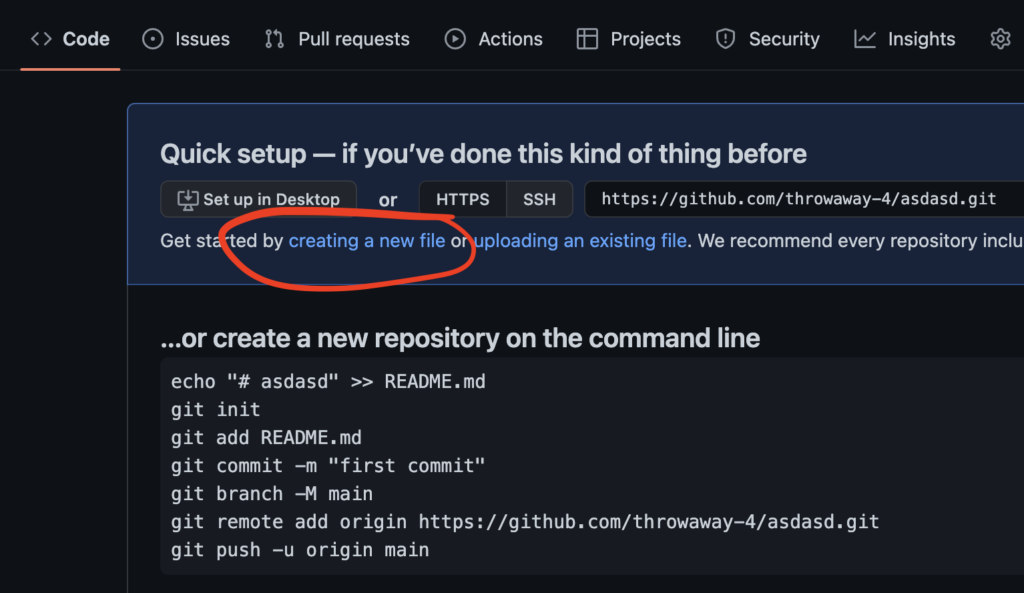
Create any random repository on GitHub and create a random file (so that we can access codespaces).
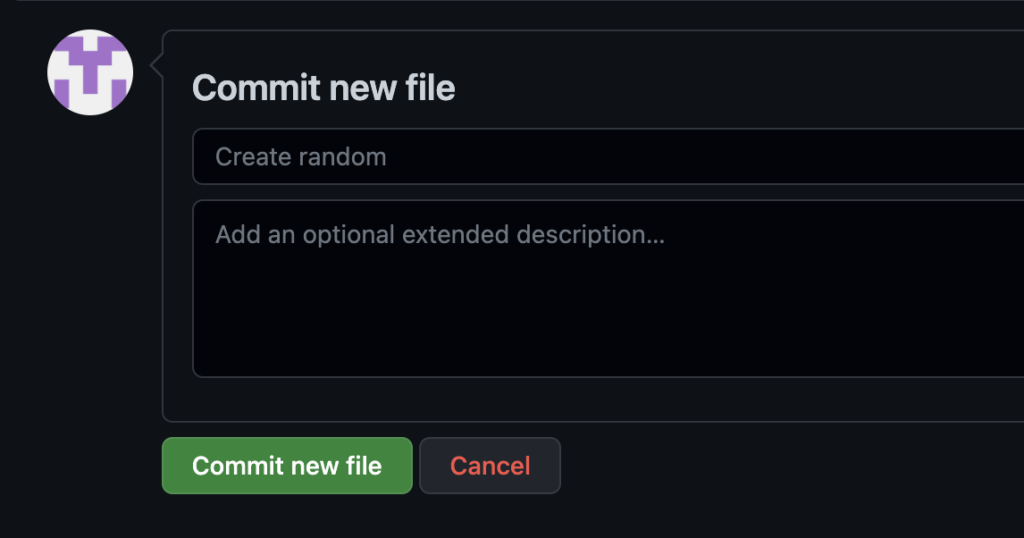
Type in any name, and content and click on the “Commit new file” button.
Starting Codespaces
After clicking on the button, the file should be made and you should see the file on the repository view. Now, you have to click on the “Code” dropdown and click on the “Codespaces” tab.
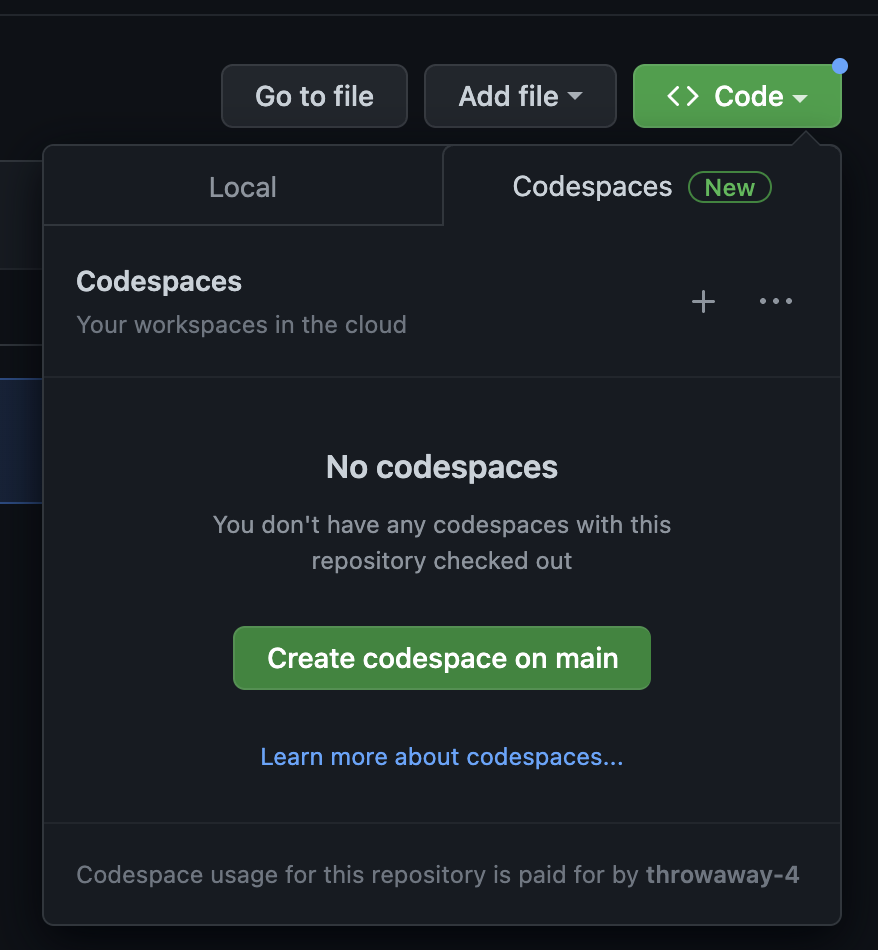
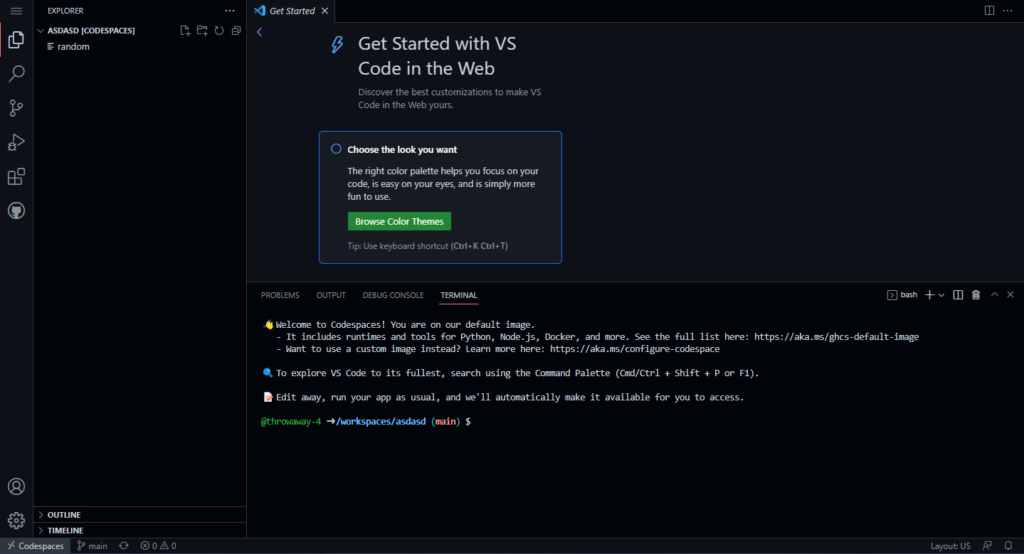
Click on “Create codespace on main”. You should then be taken to a new webpage with a VScode editor, which looks like this:
Creating files
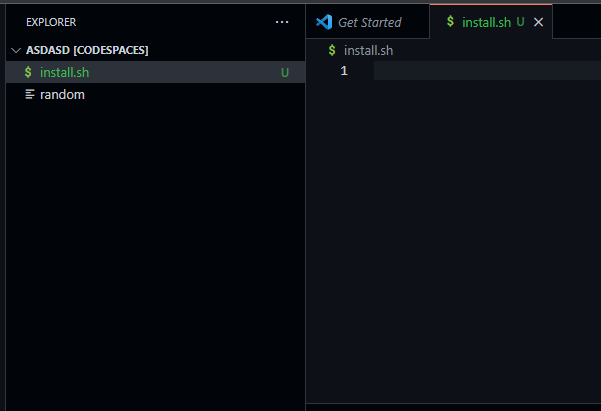
On the page, create a new file by clicking on the new file button on the left panel:
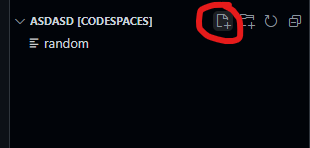
Name the file install.sh
Adding install code
And paste in the following code and replace `change-this` with your authentication code.
sudo apt update && sudo apt upgrade -y
sudo apt install squid -y
sudo service squid start

cd ~/
curl https://bin.equinox.io/c/bNyj1mQVY4c/ngrok-v3-stable-linux-amd64.tgz | tar -xz

./ngrok config add-authtoken change-this
./ngrok tcp 3128
The code downloads the Squid proxy from the Debian repository, downloads the ngrok binary, adds your authentication code to the ngrok config, and forwards port 3128.
Starting proxy
After you paste in the code, you will have to add the script in the .bashrc file so that the proxy starts when you open codespaces.
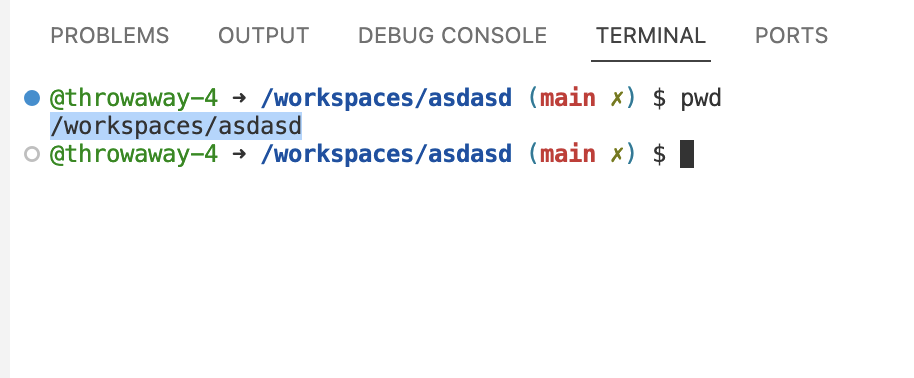
To do this, get your current directory by running the pwd command and copy the output. You should get an output similar to the screenshot below.
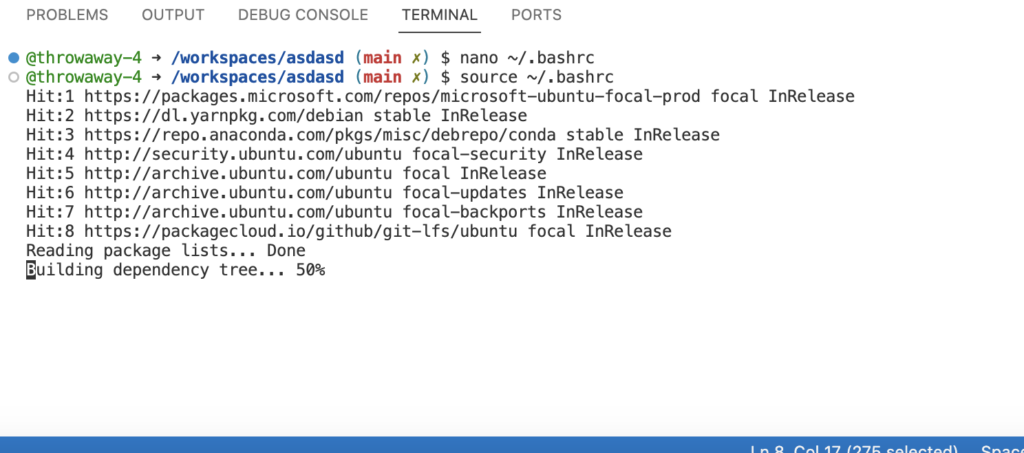
Now, open the .bashrc file by typing in
nano ~/.bashrcAnd append the following code after replacing /workspaces/asdasd with your current directory
bash /workspaces/asdasd/install.sh
Quit the nano editor by clicking CTRL+X and then typing Y and then ENTER key in the following confirmation.
Now, you may either restart the terminal or type in the following code to start the service.
source ~/.bashrcIt should then automatically update all repositories, and packages, install Squid and start ngrok for you.
After all that is done, you should be presented with a screen like this-
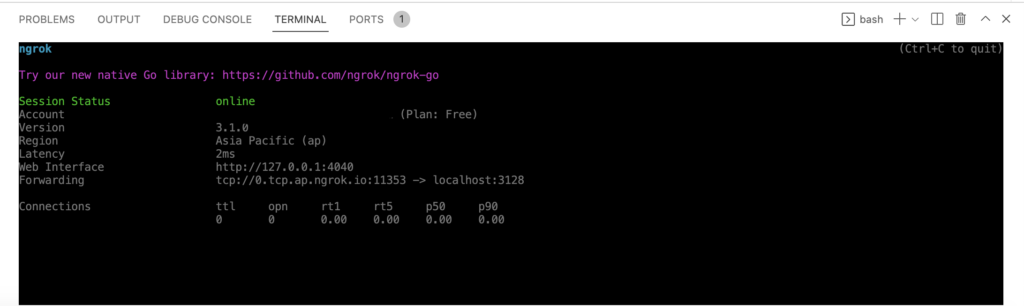
It shows you the ngrok output and the host you should connect to.
In my case, the hostname is 0.tcp.ap.ngrok.io and the port is 11353.
Now, you can connect to the proxy server and access the internet through it.
Please read this article by Avast (do not install anything) on how to configure a proxy on your PC/Mac. (Make sure to replace the hostname and port on the one in your terminal)
Testing
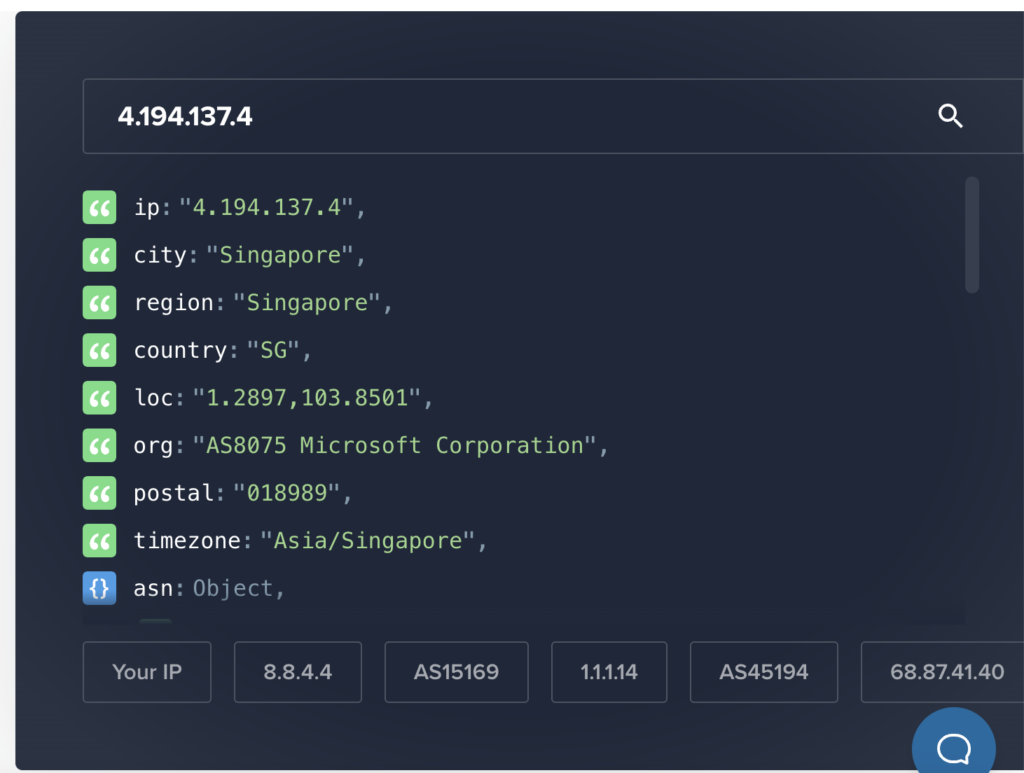
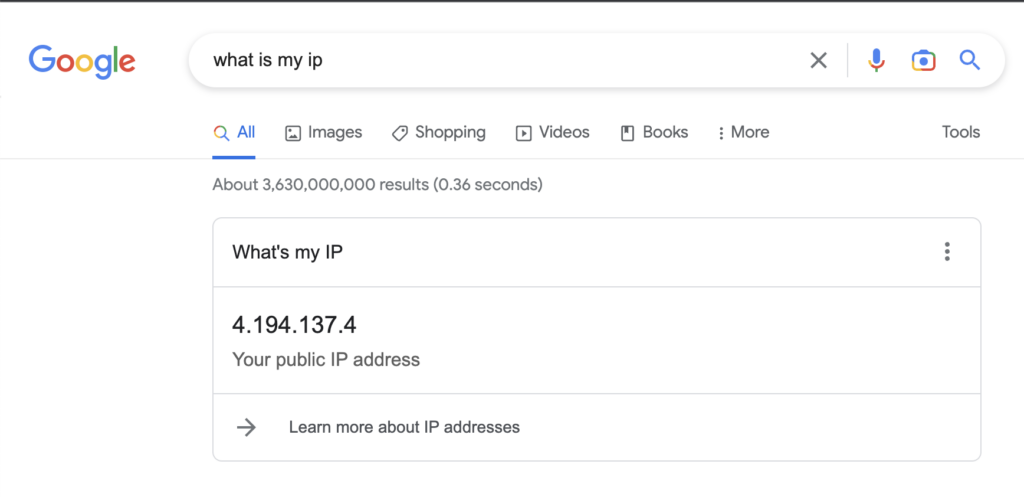
After you have completed all the steps, voila the proxy should be working. You can test this by going to ipinfo.io and your IP address should be changed.
If you have any queries or suggestions, please comment down below 👇.