This article aims to install Windows 11 Pro on Vultr. This can be convenient if you do not want a server OS on your VPS, want to save on paying for the Windows license, or want to use the VPS as one of your daily drivers
¯\_(ツ)_/¯.
Note: Windows by default doesn’t include VirtIO drivers (File System Drivers) so, we will have to build a custom Windows 11 ISO.
Building a Windows 11 ISO
To make our life easier, we will get a temporary VPS with Ubuntu installed to build our ISO there and upload it to our Vultr ISO Library.
Note: You can also build it on your own PC and upload it.
Temporary server for building ISO
To get started, you have to Deploy a new Ubuntu server (temporarily) with at least 25GB SSD; I chose a cloud compute server with 25 GB NVMe SSD. Also, disable auto backups because it is not needed.

Once your server is active, connect to it via SSH.
Downloading ISOs
We require two ISOs, one being VirtIO ISO, and the other being Windows 11 ISO from Microsoft.
To download the VirtIO ISO onto the server, run the following command.
curl https://fedorapeople.org/groups/virt/virtio-win/direct-downloads/archive-virtio/virtio-win-0.1.229-1/virtio-win-0.1.229.iso -o virtio.iso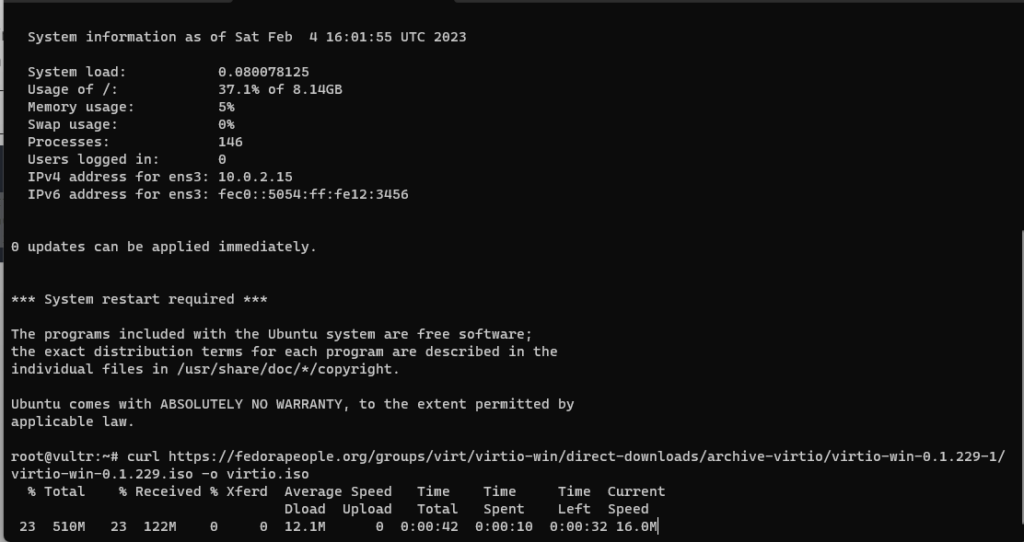
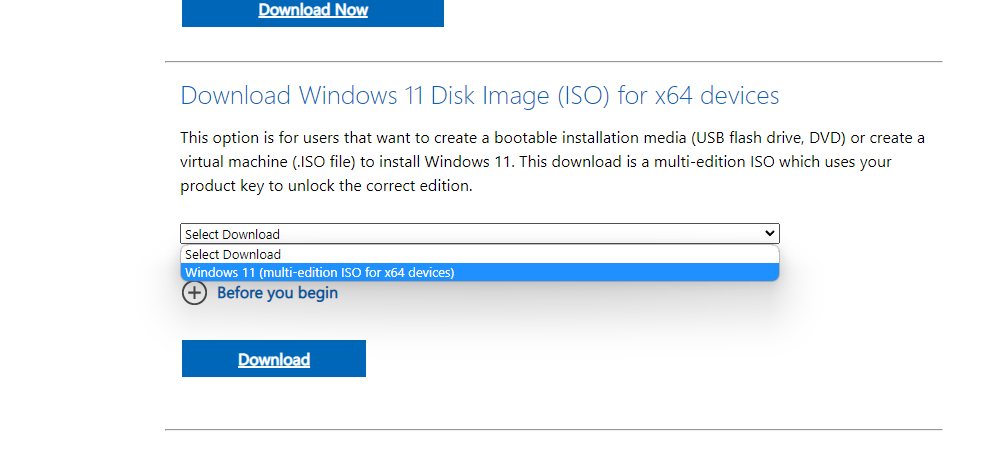
Next up, we will need to get the download link for Windows 11 iso. To get it visit this page and follow the screenshots below.
Note: You need to be on the desktop for this.
download selection
As shown in the screenshot below, click on the dropdown and click on the Windows 11 for x64 devices selection, then click on the Download button.
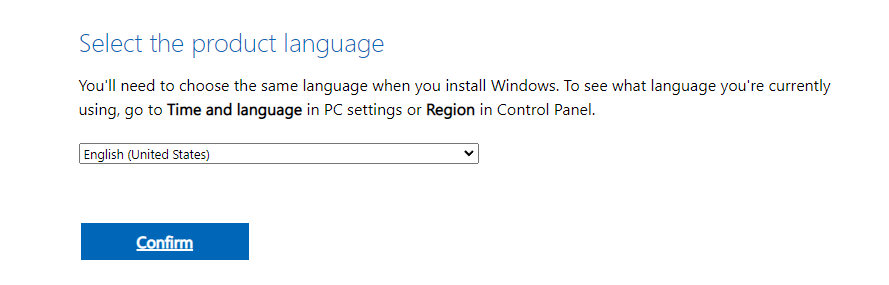
Language Selection
Select your preferred language on the next option and click on the confirm button.
getting the link
Once you click on confirm, Microsoft will validate your request and then, you will have a button called 64-bit Download as in the screenshot below. Right-click on it and copy the link to your clipboard.

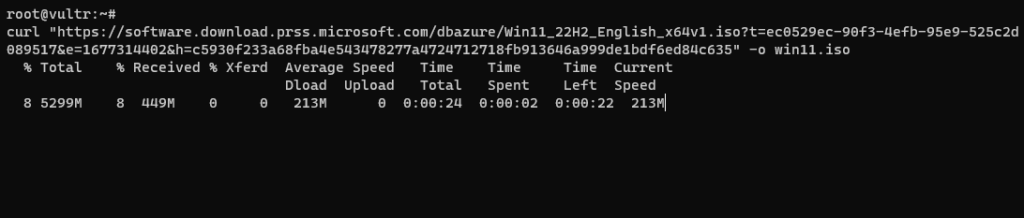
Now, go back to the SSH Terminal and type in curl and paste the link you just copied inside double quotation marks (” “) followed by -o win11.iso as shown in the example below, and run it.
# example

curl "https://software.download.prss.microsoft.com/dbazure/Win11_22H2_English_x64v1.iso?t=ec0529ec-90f3-4efb-95e9-525c2d089517&e=1677314402&h=c5930f233a68fba4e543478277a4724712718fb913646a999de1bdf6ed84c635" -o win11.iso
This will download the iso directly to the server with the name “win11.iso”.
Once downloaded, now install the required programs for building ISO.
For the sake of simplicity, we will use a VNC connection to get a graphical interface on the server and use PowerISO from flatpak.
Note: PowerISO is a paid/freeware for use on Windows but on Linux, it’s totally free (as of writing this article).
Installing and setting up required programs
Execute the following command to install the required programs.
sudo apt install -y tightvncserver flatpak nginx gnome-software-plugin-flatpakWe installed
– TightVNC Server for VNC Connections
– Flatpak to install PowerISO
– Nginx for transferring ISO
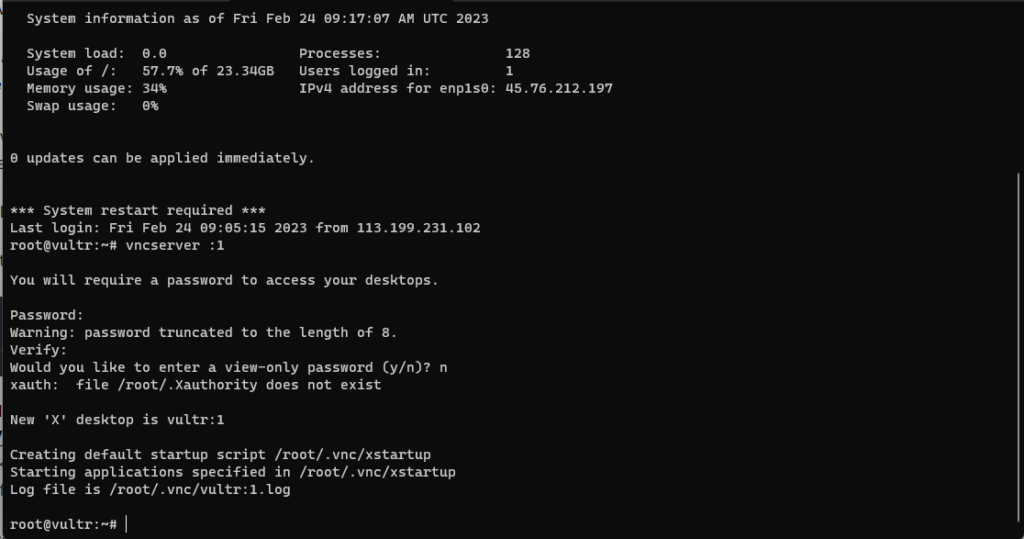
Once it completes installing, run the following command to set up the VNC server.
vncserver :1Once you run the command, it will ask you to set the password. Put whatever password you prefer, and type in “N”, when it prompts you for a view-only password.
Now, run the following command to install PowerISO from Flatpak.
flatpak remote-add --if-not-exists flathub https://flathub.org/repo/flathub.flatpakrepoflatpak install flathub com.poweriso.PowerISOType in “Y” when prompted.

Now, we are done with the installations and need to open the firewall port to access our VNC. To do this, execute the following command.
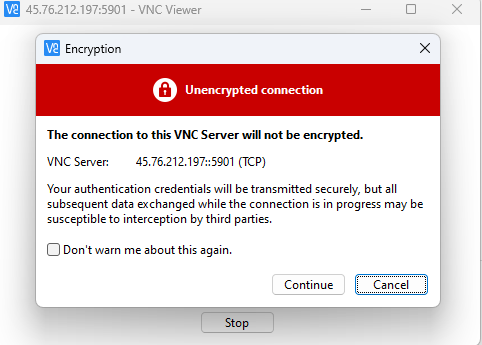
ufw allow 5901Now, you can connect to the VNC server using any VNC Client. I used Real VNC Viewer.
Put in the server IP address followed by the port to connect to the VNC server as shown in the example below.

Click continue when prompted about an Unencrypted connection.
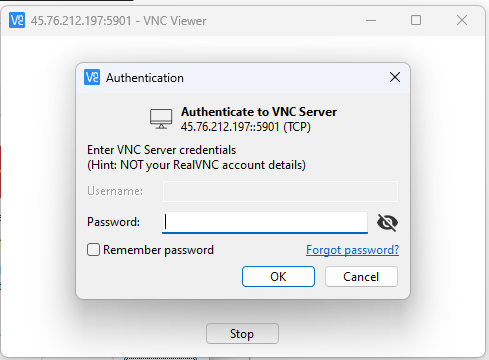
Put in the VNC Credentials set during the installation and click on Ok.
Modifying ISO Contents
Running apps on VNC
Run the following command in the SSH terminal.
export DISPLAY=:1The command above ensures that the programs we run start up in DISPLAY number 1. If you lost connection between the sessions when you ran the commands, you will have to run this command again.
starting PowerISO
Run the following command in the SSH Terminal to start PowerISO on VNC Display.
flatpak run com.poweriso.PowerISO &Mounting VirtIO ISO
To copy the drivers from the VirtIO ISO file, we will have to mount it first so that we can copy the essential files. Make sure you are in the right directory with the iso before running the following commands.
mkdir /tmp/virtiomount -o loop virtio.iso /tmp/virtioRunning this command will mount the iso into the /tmp/virtio directory.
copying drivers from virtio iso
Run the following commands to copy the entire drivers into the current working directory (/root).
Note: We are copying everything because it will be easier for us later incase we need a driver. Eg: when we need a networking driver
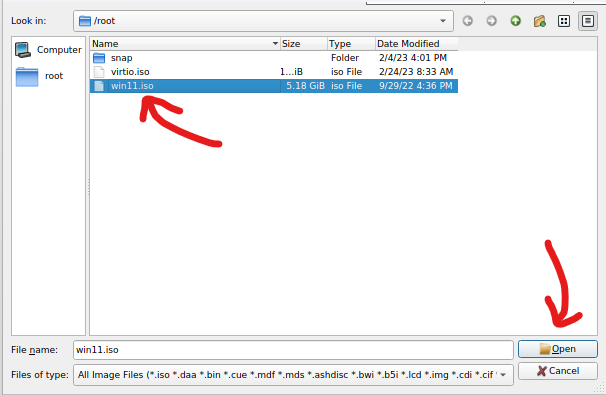
cp -r /tmp/virtio /root/Now, go back to the VNC Client and click on “Open”.
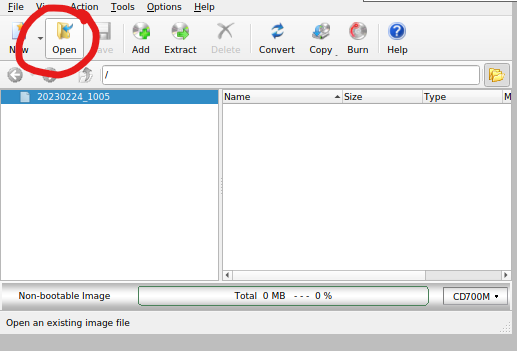
A file manager will open up. In there, select win11.iso we downloaded earlier and click on “open“.
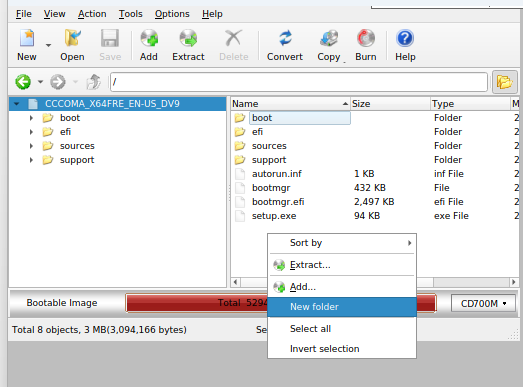
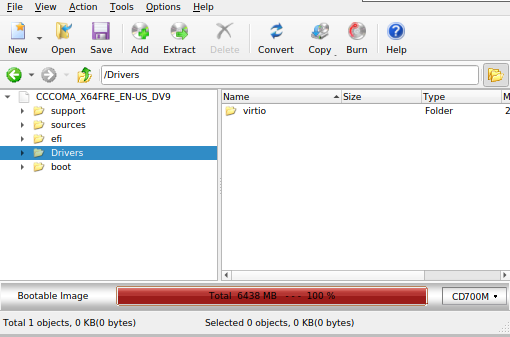
It will show the file contents of the Windows 11 ISO. Now, right-click on the right part of the screen and click on “New Folder” and name it “Drivers“.
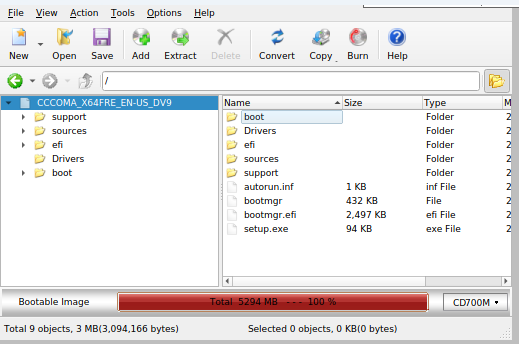
Now, double-click on the Drivers folder and click on the “Add” button.
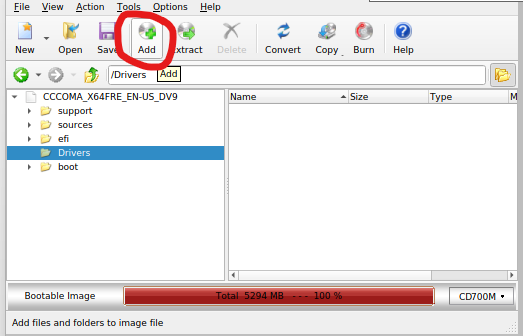
It will open the file manager, click on “Computer” in the left-most panel and click on “root“, and inside it click on the virtio directory and click on open.
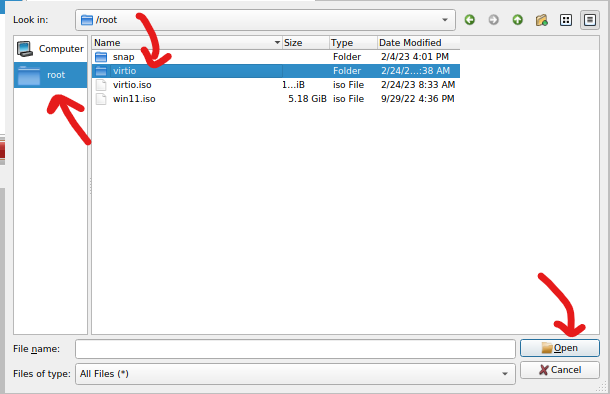
It will place the virtio folder in the Drivers folder in the ISO.
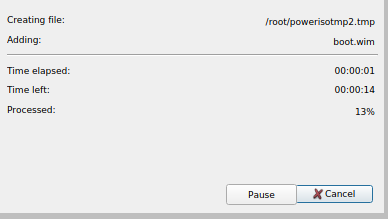
Now, click on the “Save” button and click on the “yes” button when prompted about overwriting.

The Write process should start.
moving to web folder for download
Once complete, go back to your terminal and move the iso into the web folder using the following command.
mv w11.iso /var/www/html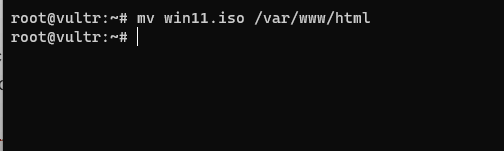
opening the HTTP port
Now, open port 80 to allow HTTP connections to the server. Run the following command to open port 80.
ufw allow 80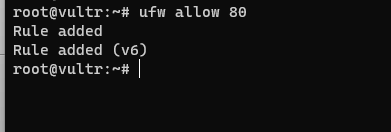
Now, the ISO is ready to be uploaded to the Vultr ISO Library.
Uploading ISO
To upload the ISO, navigate to https://my.vultr.com/iso/ and click on “Add ISO” button.
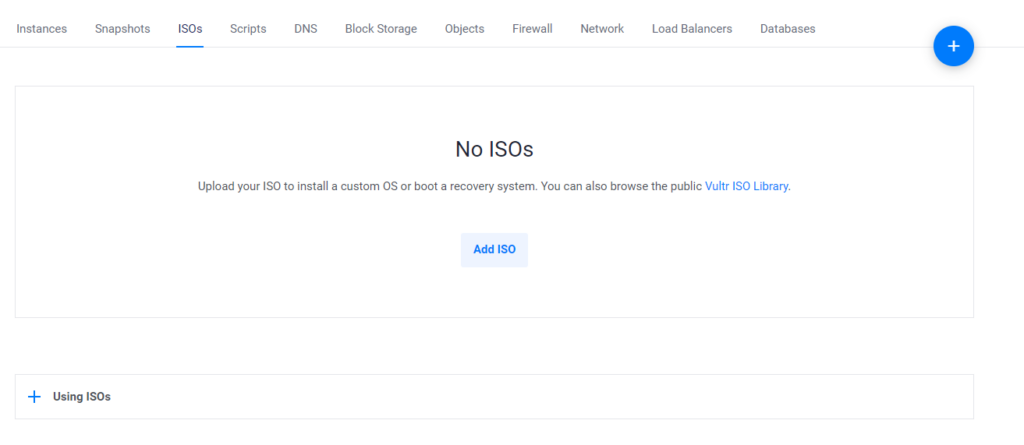
You will be redirected to the page as shown in the screenshot below.
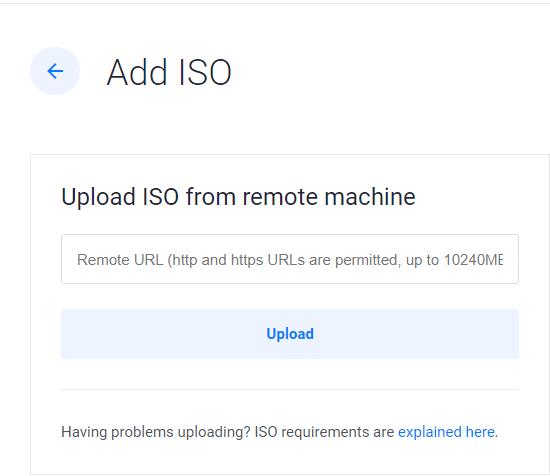
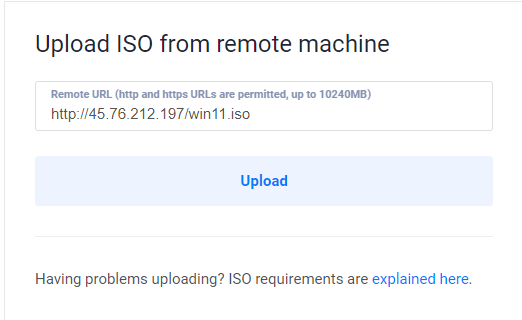
In the remote URL field, type in http:// followed by your temporary instance IP, followed by a slash ( / ) and then win11.iso. As shown in the example below.
# Examplehttp://45.76.212.197/win11.iso
Hit upload after you put in the URL.
After you hit upload, the Vultr servers will start downloading the ISO and show the download percentage as shown in the screenshot below.

After it completes downloading and shows up as available, feel free to delete the temporary instance.

Installing Windows 11 Pro
Installing the ISO is straightforward as how you deploy any Vultr instance.
Deploying Server
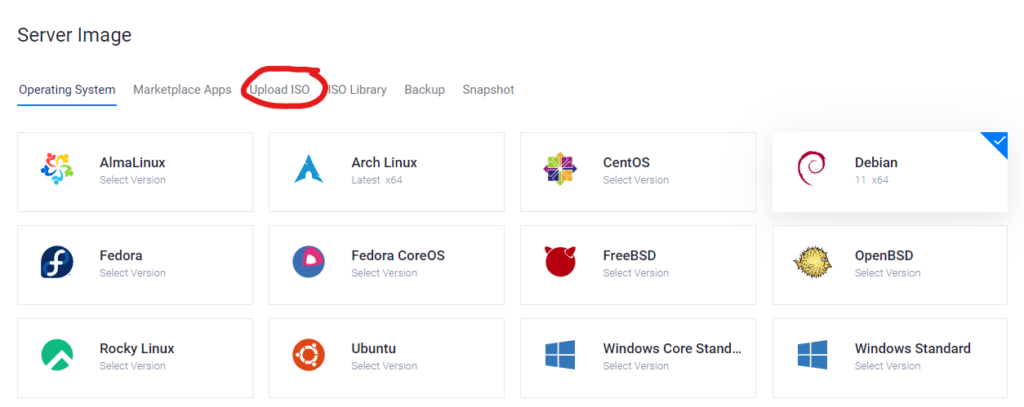
Click on Deploy > New Server and select your Server Type and Location. In the “Server Image” section, click on the “Upload ISO” tab.
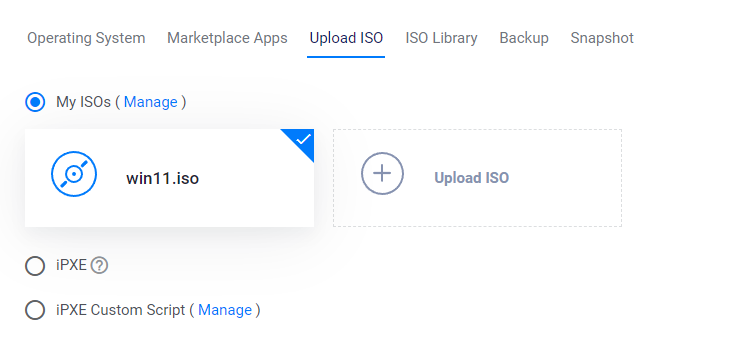
In the “Upload ISO” tab, select w11.iso and continue with selecting your server size and other options relevant to you.
Deploy your server when ready.

Verifying the ISO
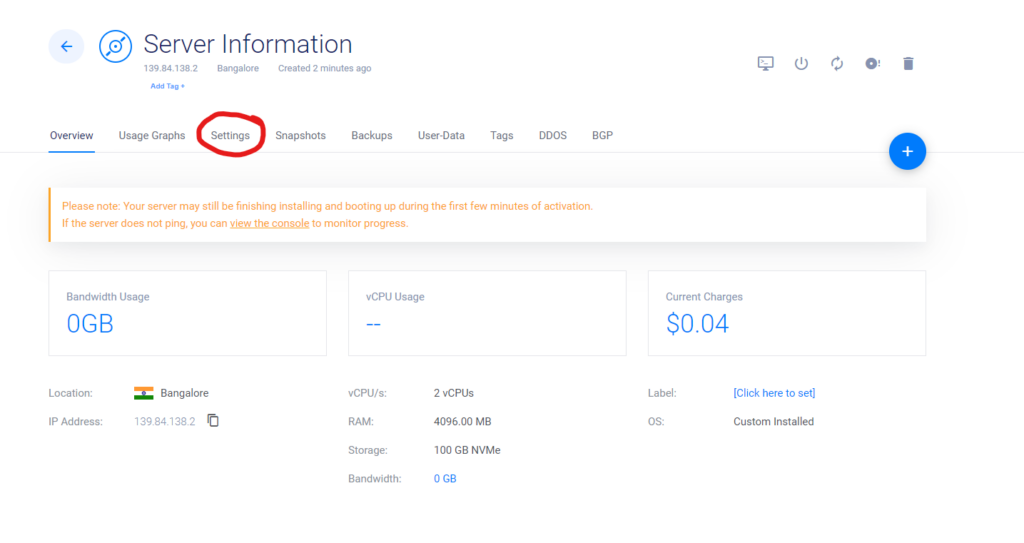
Once it shows up as “Running“, click on the instance.

On the instance page, click on the “Settings” tab.
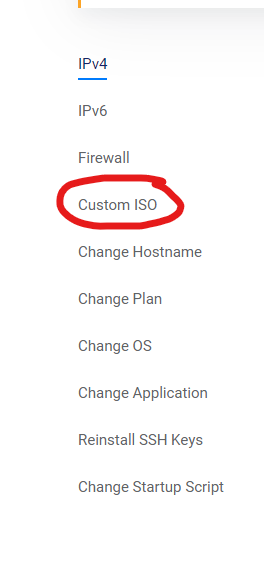
In the Settings tab, click on the “Custom ISO” option.
If it shows up as Mounting, wait for a few minutes before refreshing the page.
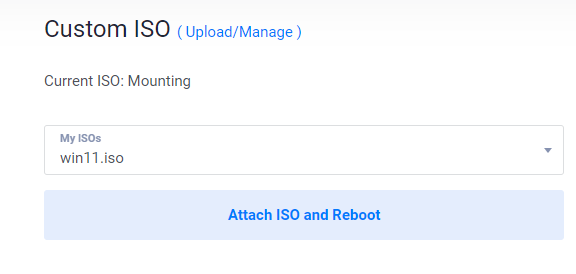
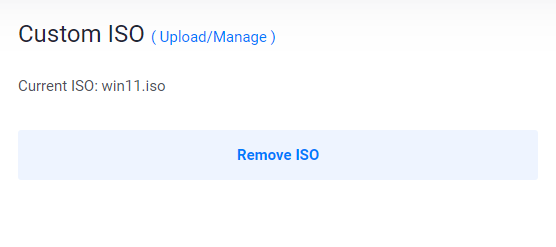
Once the Current ISO shows up as win11.iso, proceed to the next step.
Connecting to the Instance
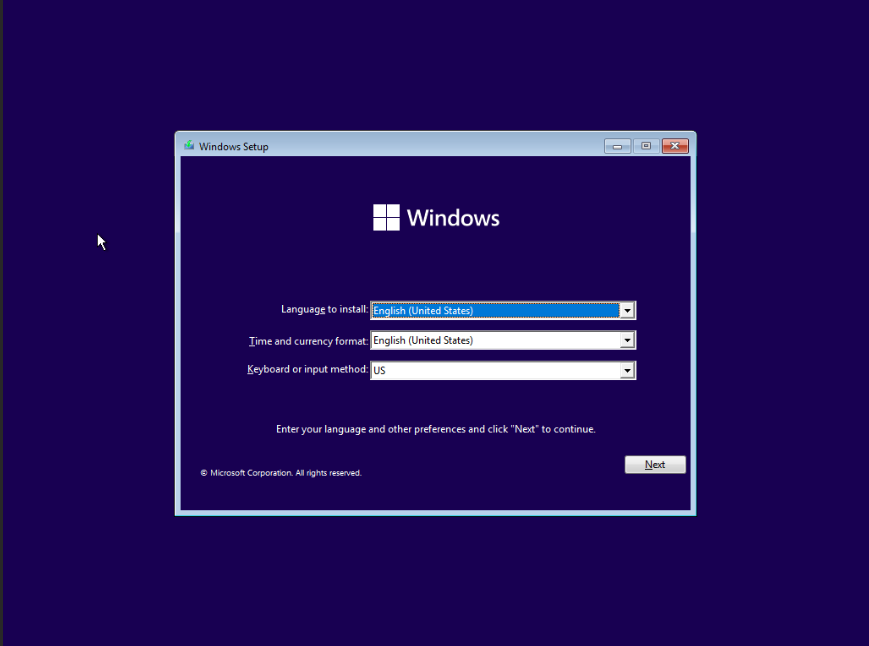
Click on the Console button to connect to the instance.

After clicking, you will see the Windows Installation screen.
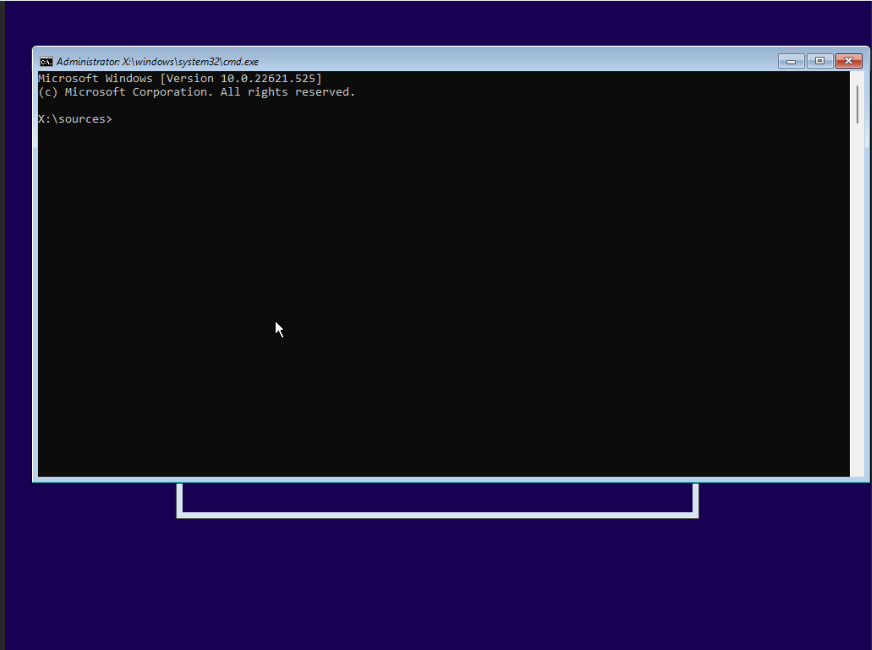
Bypassing the Windows 11 requirements
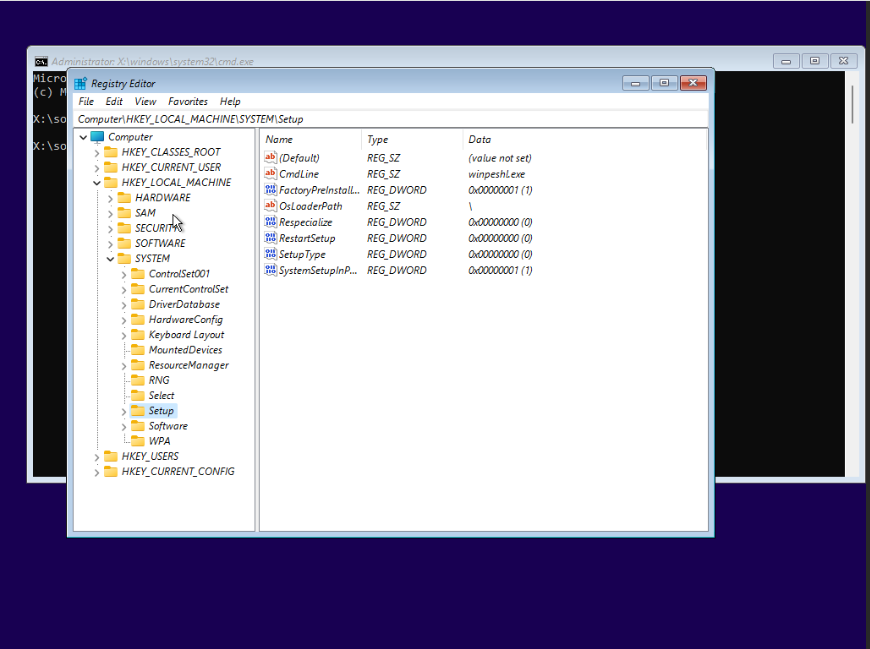
By default, Windows 11 wouldn’t want to install because it doesn’t meet the “requirements”. To bypass this, click SHIFT + F10 at the same time to open the command prompt.
In the command prompt, type in regedit to open the Registry Editor and navigate to HKEY_LOCAL_MACHINE > SYSTEM > SETUP.
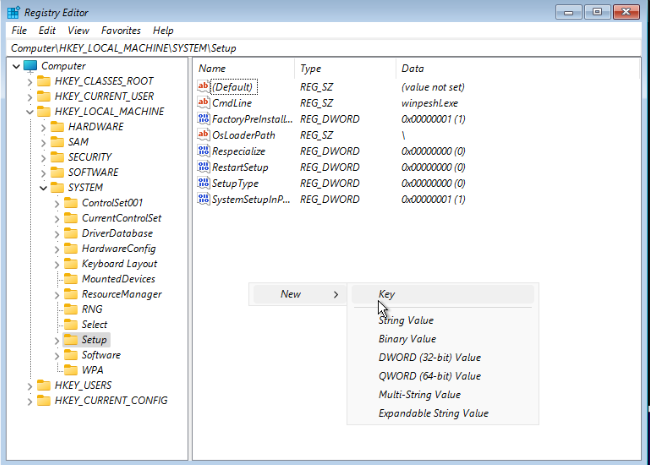
In there, right-click anywhere on the white space on the right, and create a New Key named LabConfig.
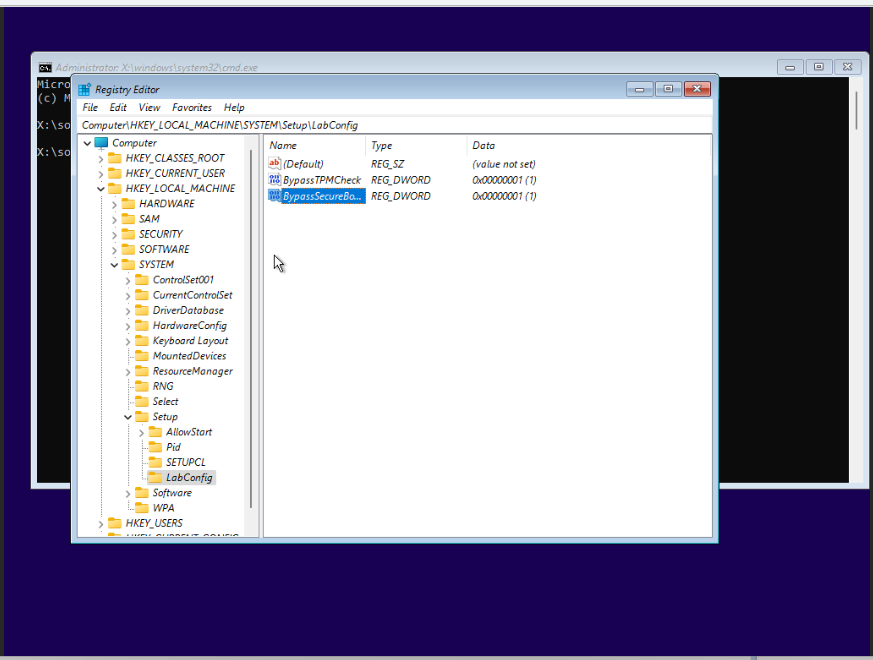
In the LabConfig Key, create the following DWORD (32-bit Values). First One Named, BypassTPMCheck with the value of 1 and the other one named BypassSecureBootCheck with the value of 1.
Note (for noobs of regedit): Double-click the key you just made to change the value.
Starting the installation
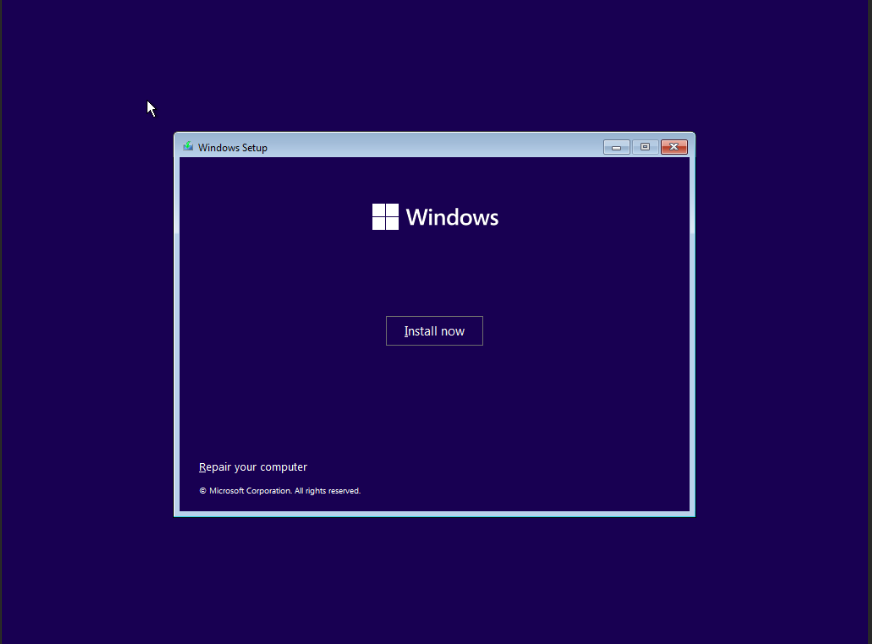
Once you set the values, close both windows and click on the “Next” button on Windows Setup.
Click on Install now on the next window.
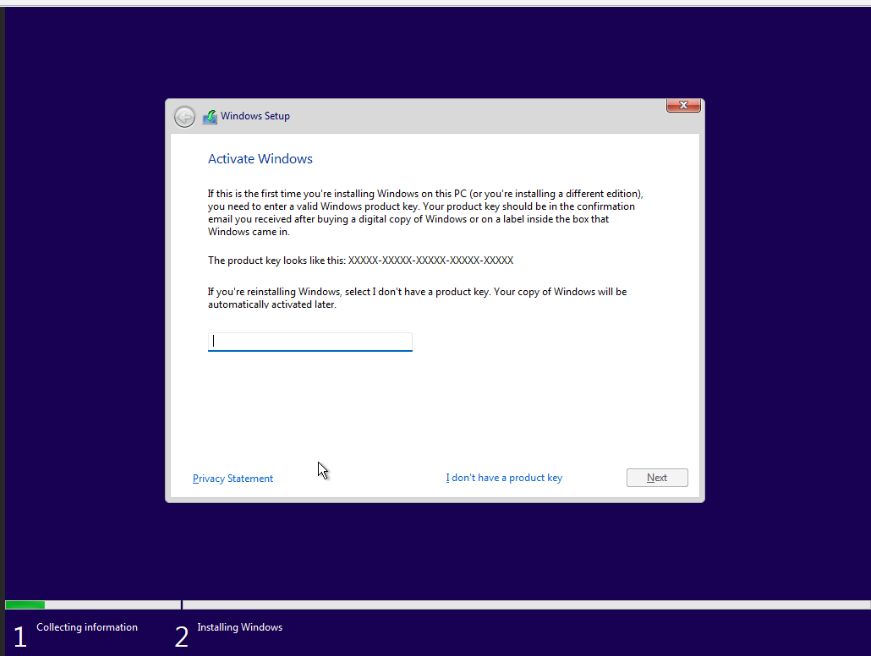
Insert the product key if you have a spare one. Else, click on “I don’t have a product key“.
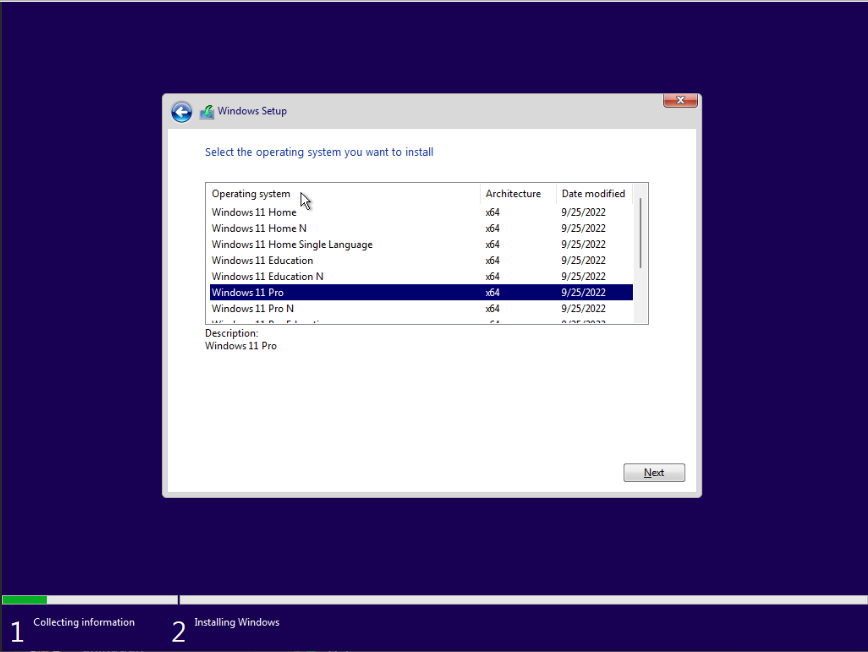
Select Windows 11 Pro when it asks you to choose the Version of the OS and click on Next.
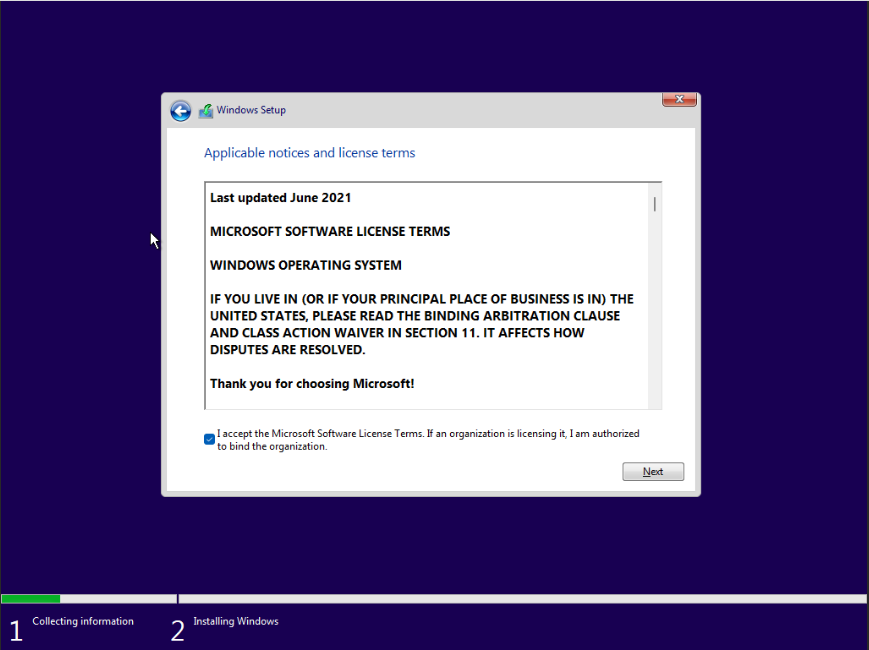
Accept the Microsoft Terms and proceed to the next screen.
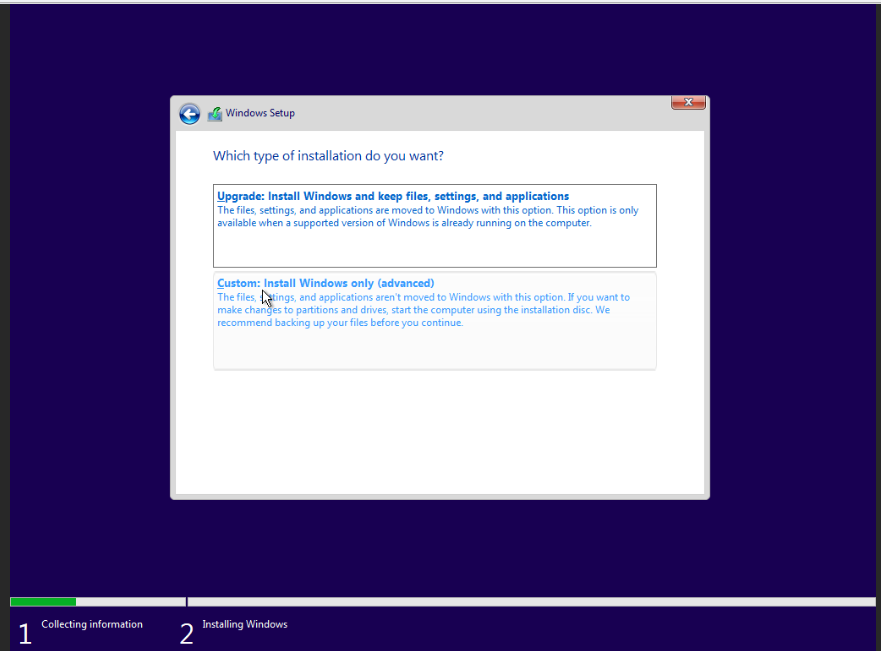
When it asks you for the type of installation, select Custom (Advanced) install.
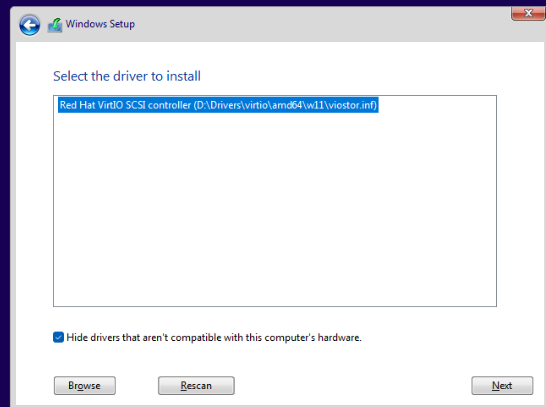
In the next screen click on the Load Driver option.
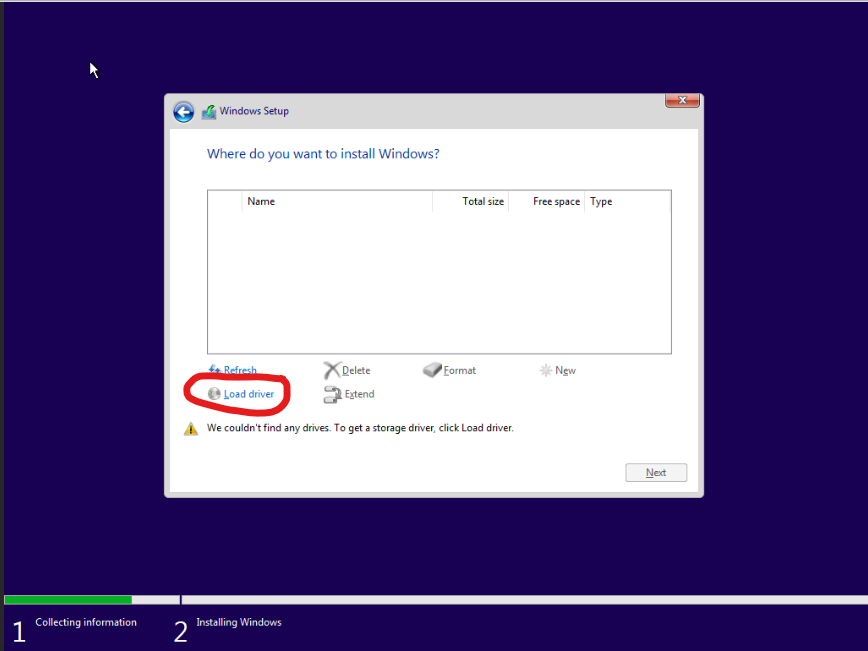
On the prompt, click on Browse.
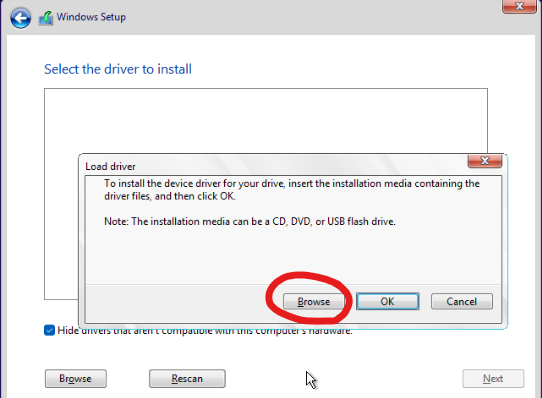
On the next prompt, click on CD Drive D.
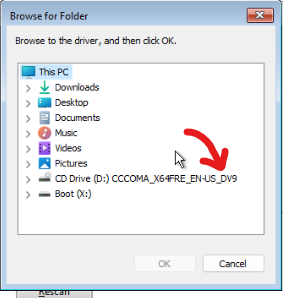
In the drive, navigate to Drivers > virtio > amd64 > w11 and click on the Ok button.
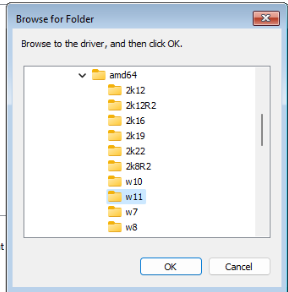
Select Next on the driver installation screen.
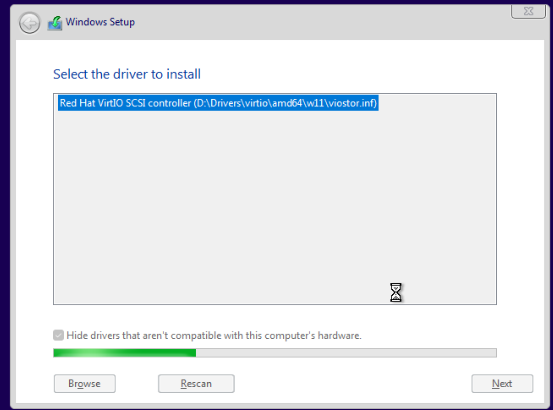
After the driver installs, you should see the Drive selection screen. Feel free to partition Windows to your liking.
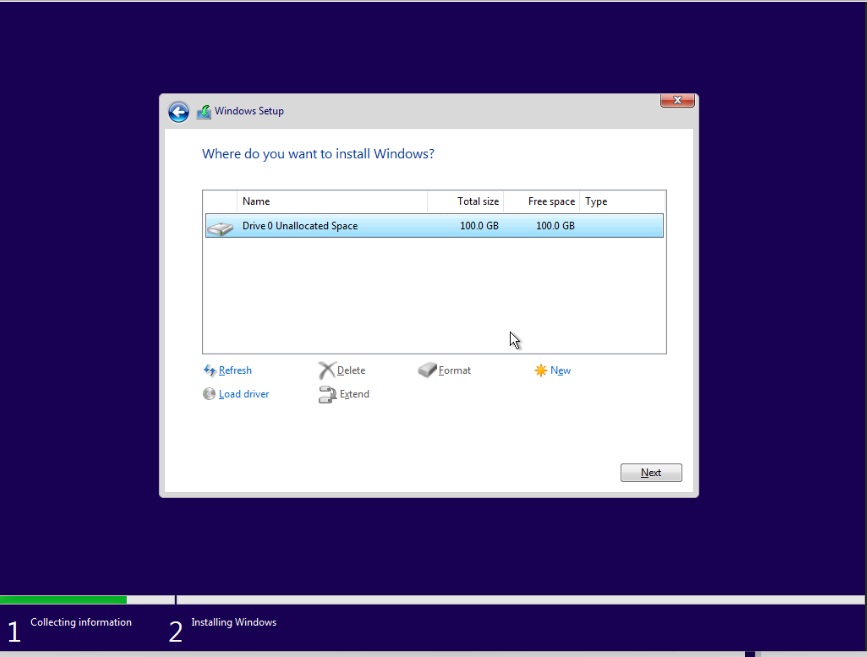
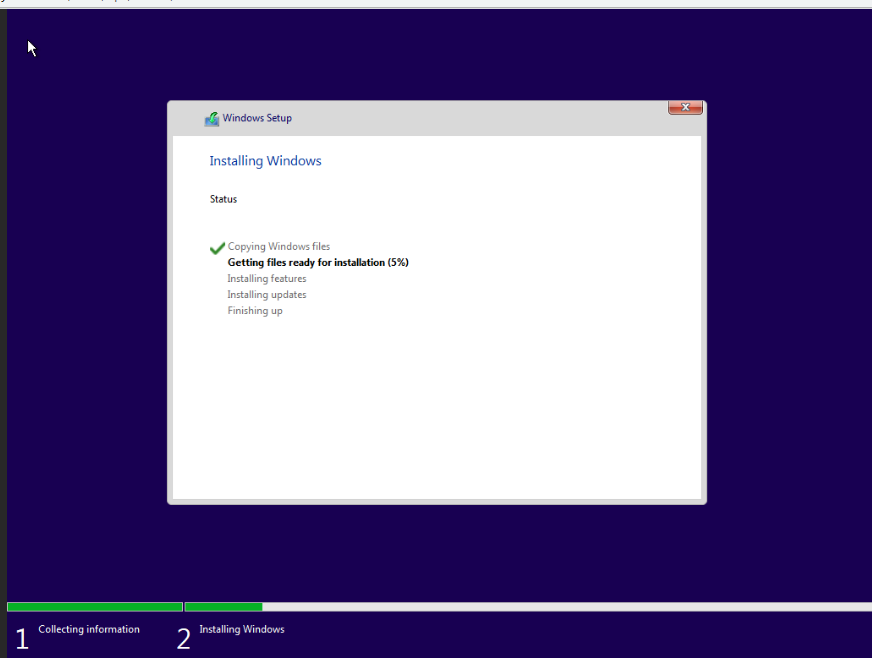
Once you are done, click on next. The Windows Installation should start and restart automatically. You can sit back and relax and wait for it to be done.
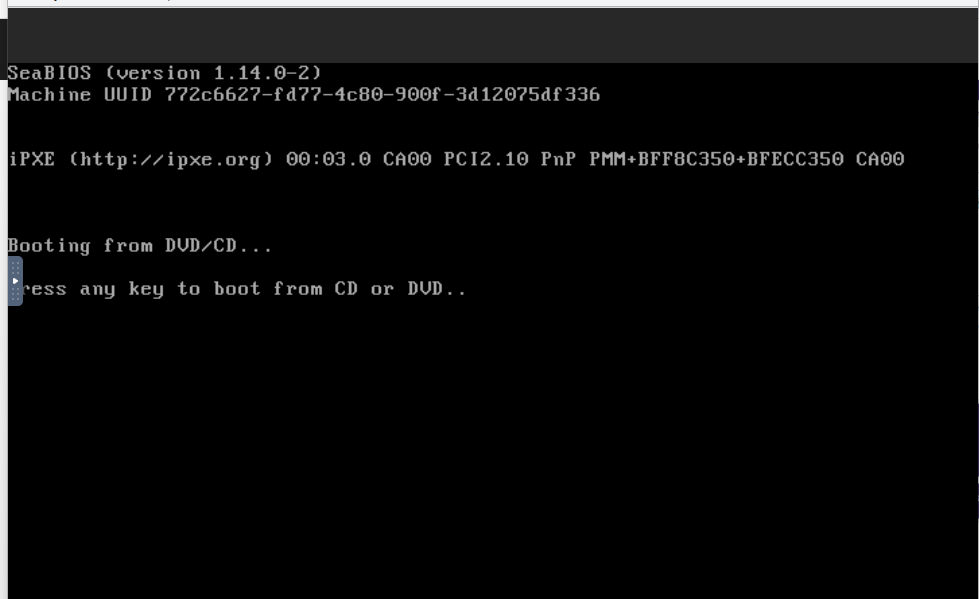
On reboot, if it asks you to press any key to boot from the live CD or DVD, don’t click on anything. It will automatically boot from the SSD.
Windows should do all its shenanigans and install all kinds of stuff it needs.
After it’s done, you should be presented with the OOBE.


Bypassing Microsoft Account Sign-in (required)
By default, the Network drivers are not installed and Microsoft being the company they are won’t let you proceed without the internet. To bypass this, press SHIFT + F10 and type in OOBE\BYPASSNRO.
After executing the command, it should reboot Windows.

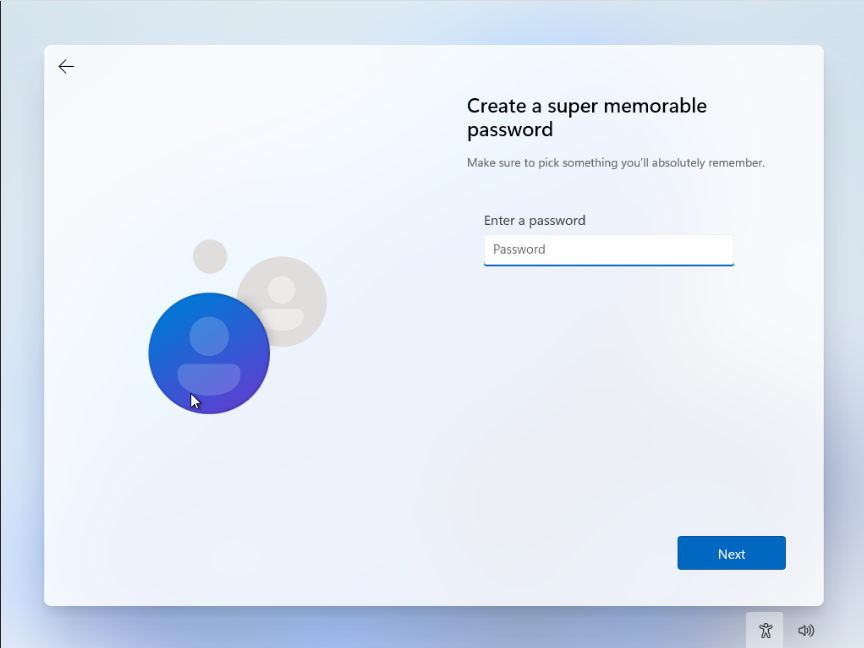
Now, you can proceed with installing Windows as you would on any other machine.

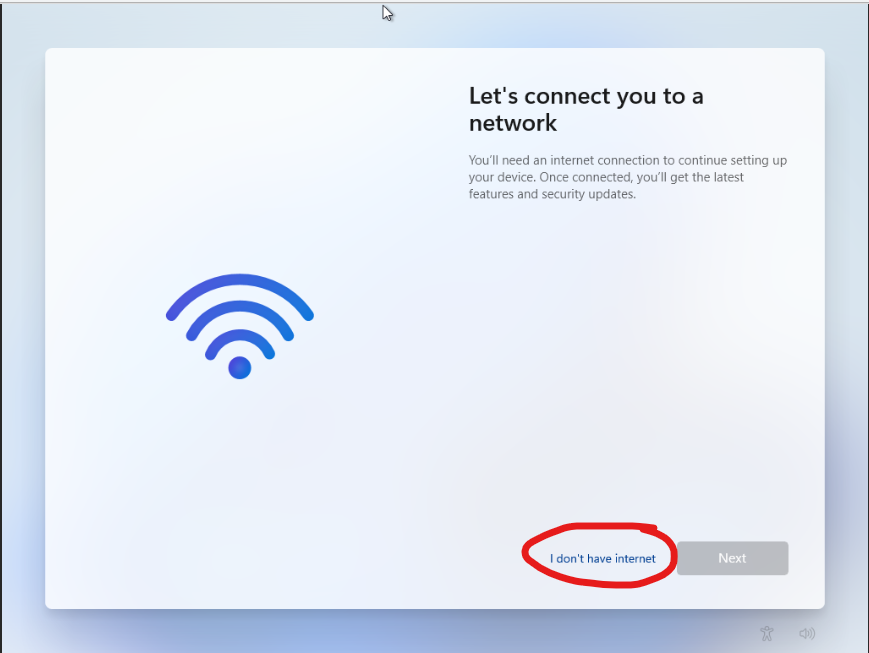
On the next screen, you have to click on “I don’t have Internet“. (If we hadn’t executed the command earlier this option wouldn’t be present.)
Click on “Continue with limited setup“.


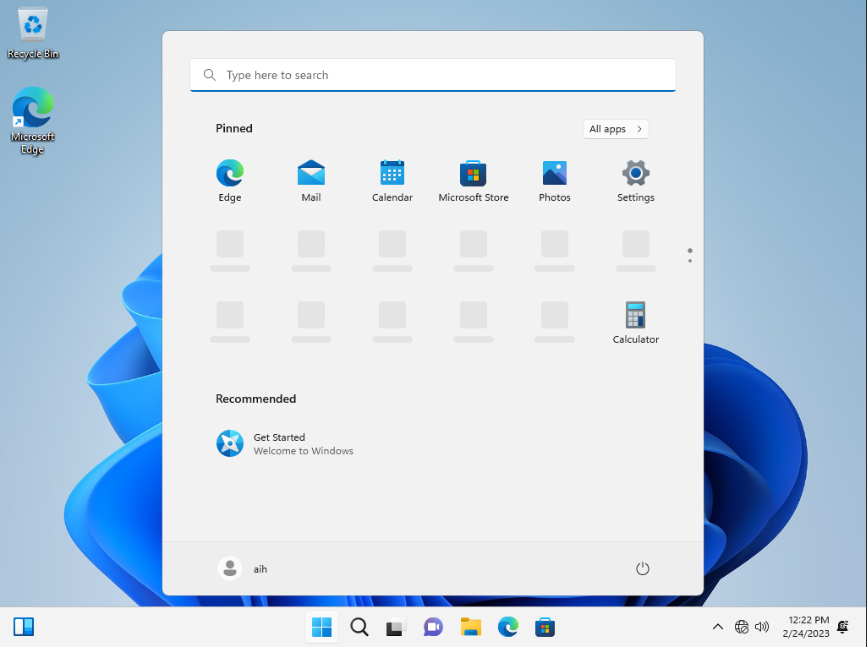
After this screen, you will get into the desktop.

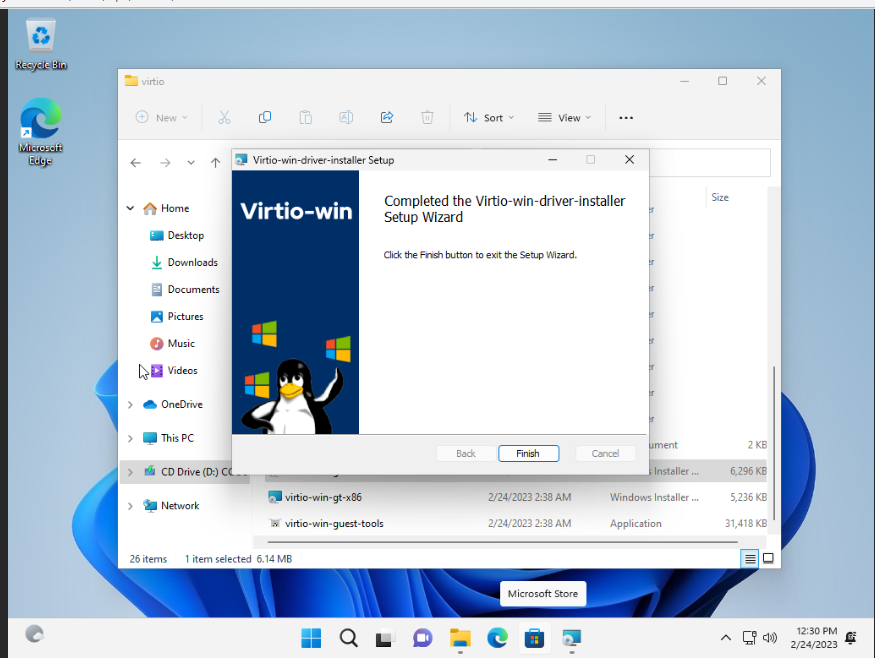
Installing Network Drivers
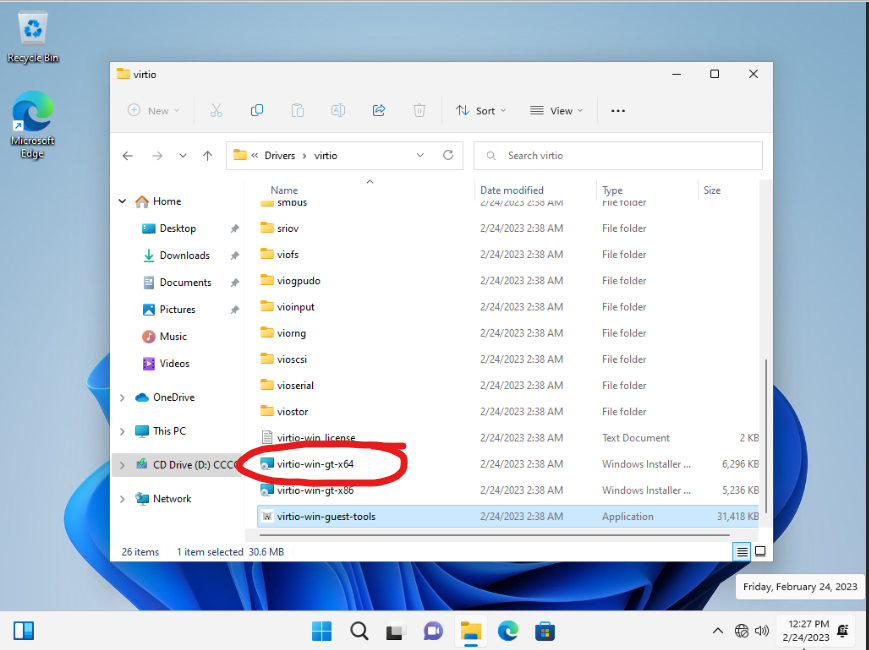
To install network drivers, open Windows Explorer and go to the CD drive.
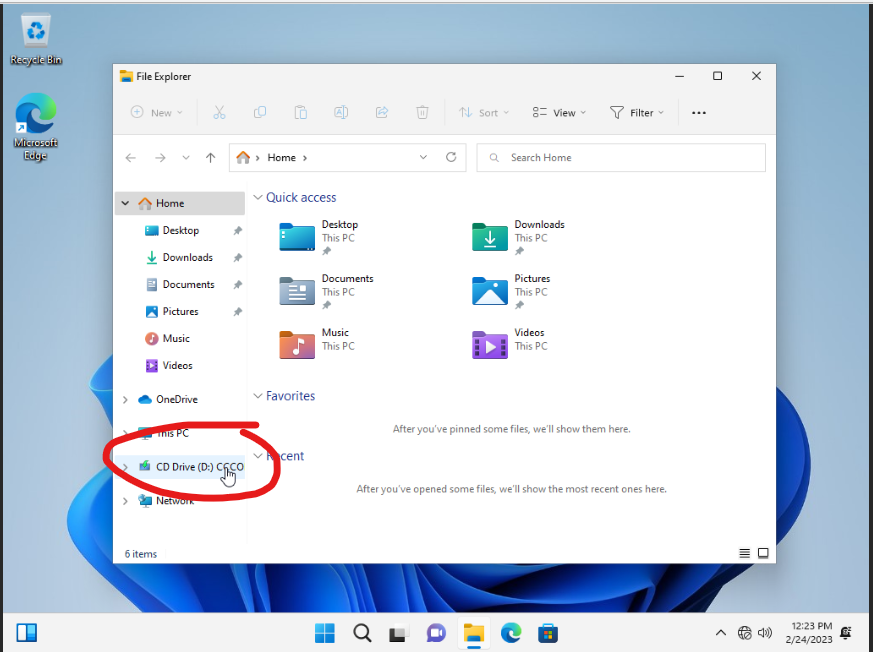
Go inside Drivers > virtio and run virtio-win-gt-x64.
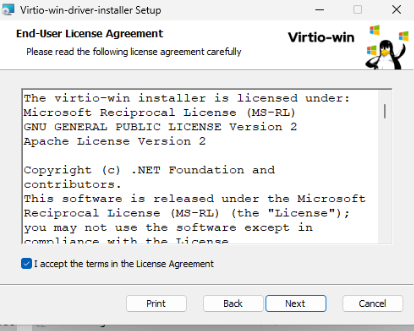
Hit Next, Next, and Accept the license terms.
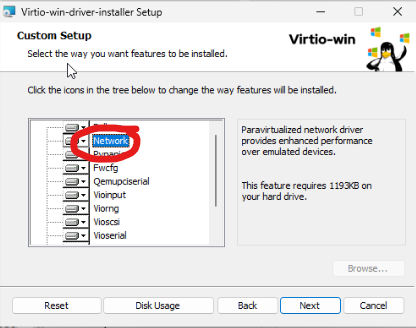
On the Custom Setup screen, select Network and hit Next.
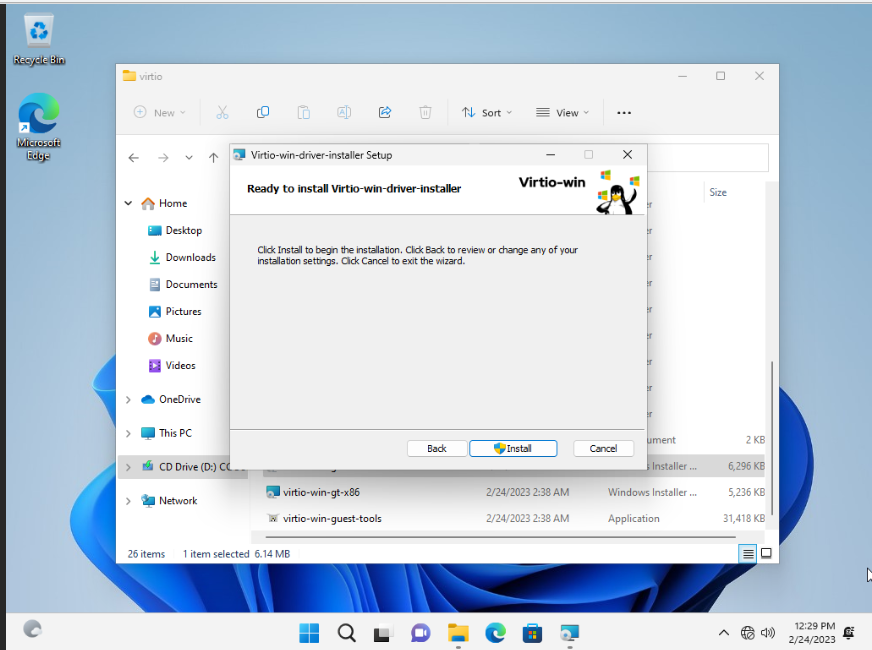
Hit install.
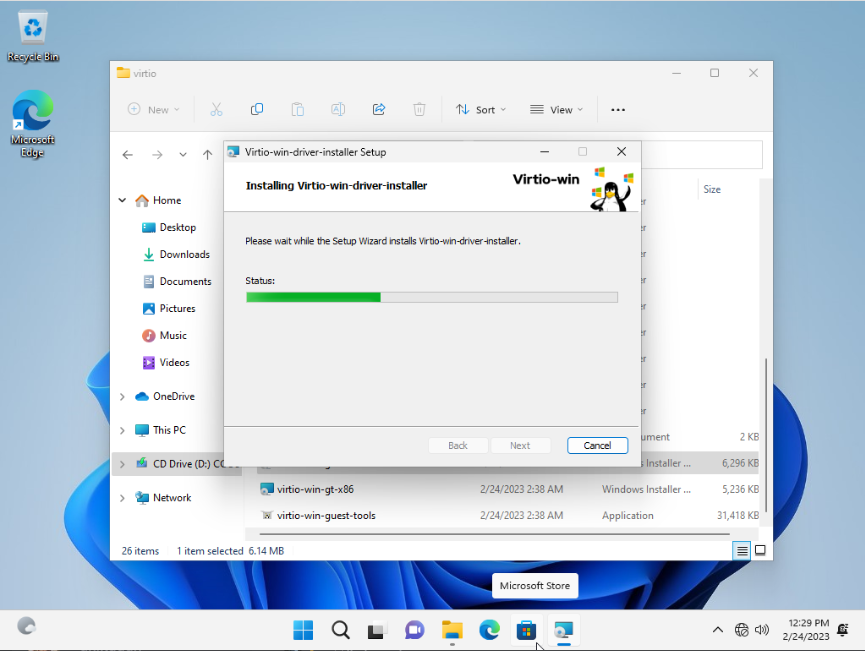
Once installed, you should have a working internet connection.
Now, you have the world with you, you can install anything you want and access anything you need 😉
Setting up RDP (Recommended) (Optional)
It is not necessary, as you can always use the Vultr Console to connect to the VPS but feel free to set up RDP for easier connection from the tutorial below.
Complete ✅
That’s all needed to install Windows 11 Pro on Vultr. You can go ahead and unmount the ISO from the instance if you wish to. You can give some feedback in the comments, if you wish to.